I sell cardboard displays, so I live with deadlines, ink smell, and dust. Coatings save prints, but bad timing ruins them. I share what works in my factory.
Use a coat when the print needs protection from rub, moisture, or heavy handling; wait until inks are dry and gases out; add a top coat for gloss, matte, or extra strength; and space coats long enough to avoid soft layers, blocking, or haze.
I keep this simple. I match the purpose with the right coat. I let the substrate and weather set the clock. I test small. I scale after.
When should I use a coat?
Retail floors are rough. Pallets move. Staff wipes dust fast. A coat prevents scratches, smears, and water rings. It also locks color so the display looks new longer.
Use a coat when the display will face friction, moisture, stacking, long shipping, or frequent touch; skip it only for low-risk, short runs or recyclable purity needs where bare board and de-inkable inks meet the brief.

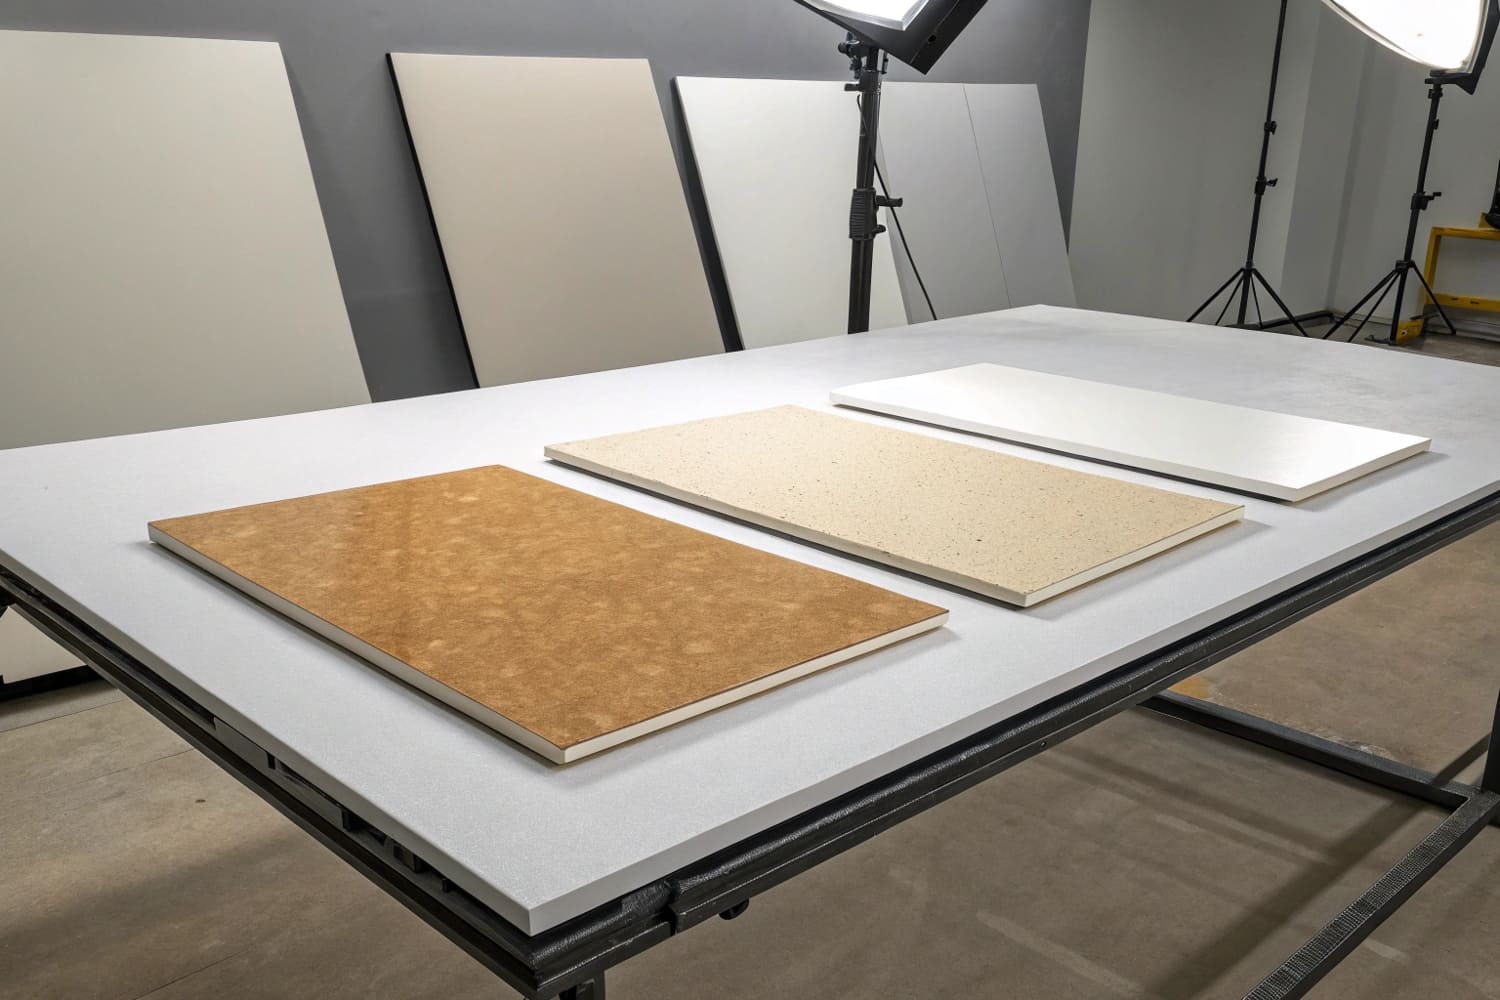
What counts as a coat on cardboard displays
I use four common paths. Water-based overprint varnish (OPV) adds scuff resistance at a low cost. UV varnish cures fast and looks bold. Film lamination (gloss or matte) gives top strength and a premium hand feel. Nano or barrier coats add water and UV resistance while keeping recyclability better than films. I also see anti-scratch matte that hides light marks. For pure recycling goals, I pick water-based coats with low VOC and no plastic film. In North America, buyers like a clean matte OPV for natural brands. In APAC, premium gloss moves fast with new launches. The market grows, so choices grow too, and small MOQ digital jobs now get coats that used to be offset-only.
Decision grid I share with buyers
| Goal / Risk | Use a coat? | Best finish | Notes |
|---|---|---|---|
| High touch, long promo | Yes | Matte OPV or matte film | Hides wear; easy on eyes |
| Wet wipe needed | Yes | Gloss film or UV varnish | Better liquid bead-off |
| Outdoor or humid store entry | Yes | Barrier or nano coat | Keep recyclability in mind |
| Short in-store test (1–2 weeks) | Maybe | Light OPV | Save cost, faster lead time |
| Pure eco story, easy handling | Maybe/No | Uncoated or AQ minimal | Confirm print rub first |
Risk of skipping coats
When I skip coats on dark solids, I see rub marks from shelf loading. When I skip coats on PDQ trays, I see edge wear after one weekend. A simple OPV would have saved the job. I weigh cost vs risk. A coat adds a small cost. A failed launch costs much more. Buyers in the U.S., Canada, the U.K., and Australia tell me the same thing: the safe choice wins when launch dates are fixed.
How long should you wait before coats?
Ink looks dry fast, but solvents need time to leave. If I rush, I trap them. Then I get haze, bubbles, or poor adhesion. Waiting is cheaper than reprint.
Wait until inks are dry to touch and also set through; for water-based inks on corrugated, plan 4–24 hours depending on ink load, humidity, and airflow; confirm with a rub test and a tape pull before coating.
Dry1 vs cure2—what I test on the floor
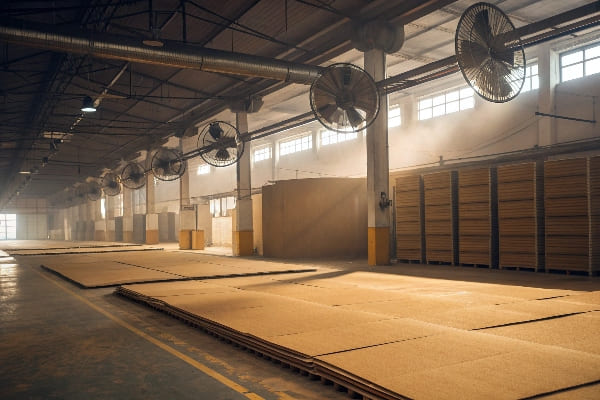
"Dry" means I can touch without smearing. "Cure" means the layer is firm through its thickness. I run three quick checks. First, a white cloth rub on a corner; no color means okay. Second, a low-tack tape pull; no ink lift means okay. Third, a stack test with slip sheets for one hour; no blocking means okay. If any test fails, I add air and time. I use fans, not heat, because heat can warp lightweight board. In Shenzhen's wet season I add more time. In winter, I add less.
Typical waits I share with buyers
| Ink / Print Load | Room Temp/Humidity (approx) | Safe wait before first coat |
|---|---|---|
| Light water-based digital area | 22–26 °C / 40–55% RH | 4–6 hours |
| Heavy solids (water-based) | 22–26 °C / 40–55% RH | 8–12 hours |
| Offset + high coverage | 22–26 °C / 40–55% RH | 12–24 hours |
| UV ink | 22–26 °C / 40–55% RH | Minutes after full cure |
One time a U.S. hunting brand pushed me to coat right away. I waited eight hours and saved the print. If I had rushed, the cartons would have blocked in transit. That small delay kept the launch date on track.
When should you use top coat?
A "top coat" is the final shield and the final look. It sets gloss, matte, or soft-touch. It also adds slip control so stacks do not stick.
Use a top coat when the display needs a defined sheen, strong rub resistance, repeated cleaning, or stacking; choose matte for glare control, gloss for pop, and soft-touch for premium feel with care.
Triggers that tell me to add a top coat
I add a top coat when I see dark solids, heavy ink on edges, or a plan for Costco, Walmart, or other high-traffic floors. I add it when store staff will wipe dust daily. I add it when the brand wants a luxury feel. I skip it only when the store time is very short or when a strict recycling goal forbids films. I also check deadlines. A fast UV top coat helps when time is tight. It cures on the line and avoids overnight waits. For clean-label brands that want low glare photos, I push matte.
Top coat options and trade-offs
| Top coat type | Pros | Cons | Common use |
|---|---|---|---|
| Water-based OPV | Low cost, recyclable friendly | Medium protection | Everyday POP |
| UV varnish | Fast cure, high rub | Can gloss glare, needs cure control | Launch kits |
| Film lamination | Best rub, wipe clean | Adds plastic, higher cost | Long life displays |
| Soft-touch film | Premium feel, hides glare | Marks show, higher MOQ | Premium sets |
How I prove it works
I run rub tests, edge crush checks, and a transport drop inside our strength testing. I stack coated and uncoated pieces with weight for 24 hours. If sheets block or ghost, I change the coat or add more time. This process keeps reprint risk low, which protects deadlines and budgets. It also matches buyer needs in the U.S., Canada, the U.K., and Australia, where returns are costly.
How long between coats of emulsion?
Many people say "emulsion" to mean a water-based acrylic varnish. It behaves like paint. It needs time to flash off, then time to build strength. Thin, even coats work best.
Wait 2–4 hours between thin emulsion coats at room conditions; extend to 6–8 hours for heavy coverage or high humidity; always test touch, rub, and tape before stacking or packing.
What sets the recoat clock
Film build, temperature, airflow, and humidity set the time. A thin coat at 24 °C with good air moves fast. A heavy coat at 20 °C and 70% RH crawls. I plan schedules with a buffer. I never let a rush kill adhesion3. For corrugated, the flute traps moisture. I give it more time than paperboard. If we add a second coat for extra rub resistance, I sand lightly on test panels to knock down nibs, then I recoat. I do not overwork edges. Edges show flaws first.
Recoat guide I keep on my wall
| Condition | Recoat interval (target) | Notes |
|---|---|---|
| 24 °C, 45% RH, thin coat | 2–3 hours | Fans on, no heat warp |
| 22 °C, 60% RH, medium coat | 3–5 hours | Extra airflow helps |
| 20 °C, 70% RH, heavy coat | 6–8 hours | Overnight is safer |
| After lamination adhesive set | 12–24 hours | Let bond reach handling strength |
Why patience pays
If I recoat too soon, I trap water. The surface looks fine, but the layer stays soft. Then boxes block in stacks, or corners chip in transit. If I wait and test, the coat cures through. The color stays rich. The surface wipes clean. For large runs, this small pause protects tens of thousands of units. This also supports sustainability goals, because it avoids waste. My buyers care about that. The display packaging market will grow, and timelines will stay tight, so this habit will keep saving launches.
Conclusion
Coat when protection or look demands it. Wait for true dryness, not just touch. Add a top coat for strength or sheen. Space emulsion coats. Test small. Then scale.
Understanding the concept of 'dry'in printing is crucial for ensuring quality and preventing smearing. ↩
Exploring the curing process helps you grasp how to achieve firm layers and avoid print issues. ↩
Exploring how temperature and humidity impact adhesion can help you optimize your coating applications for better results. ↩


