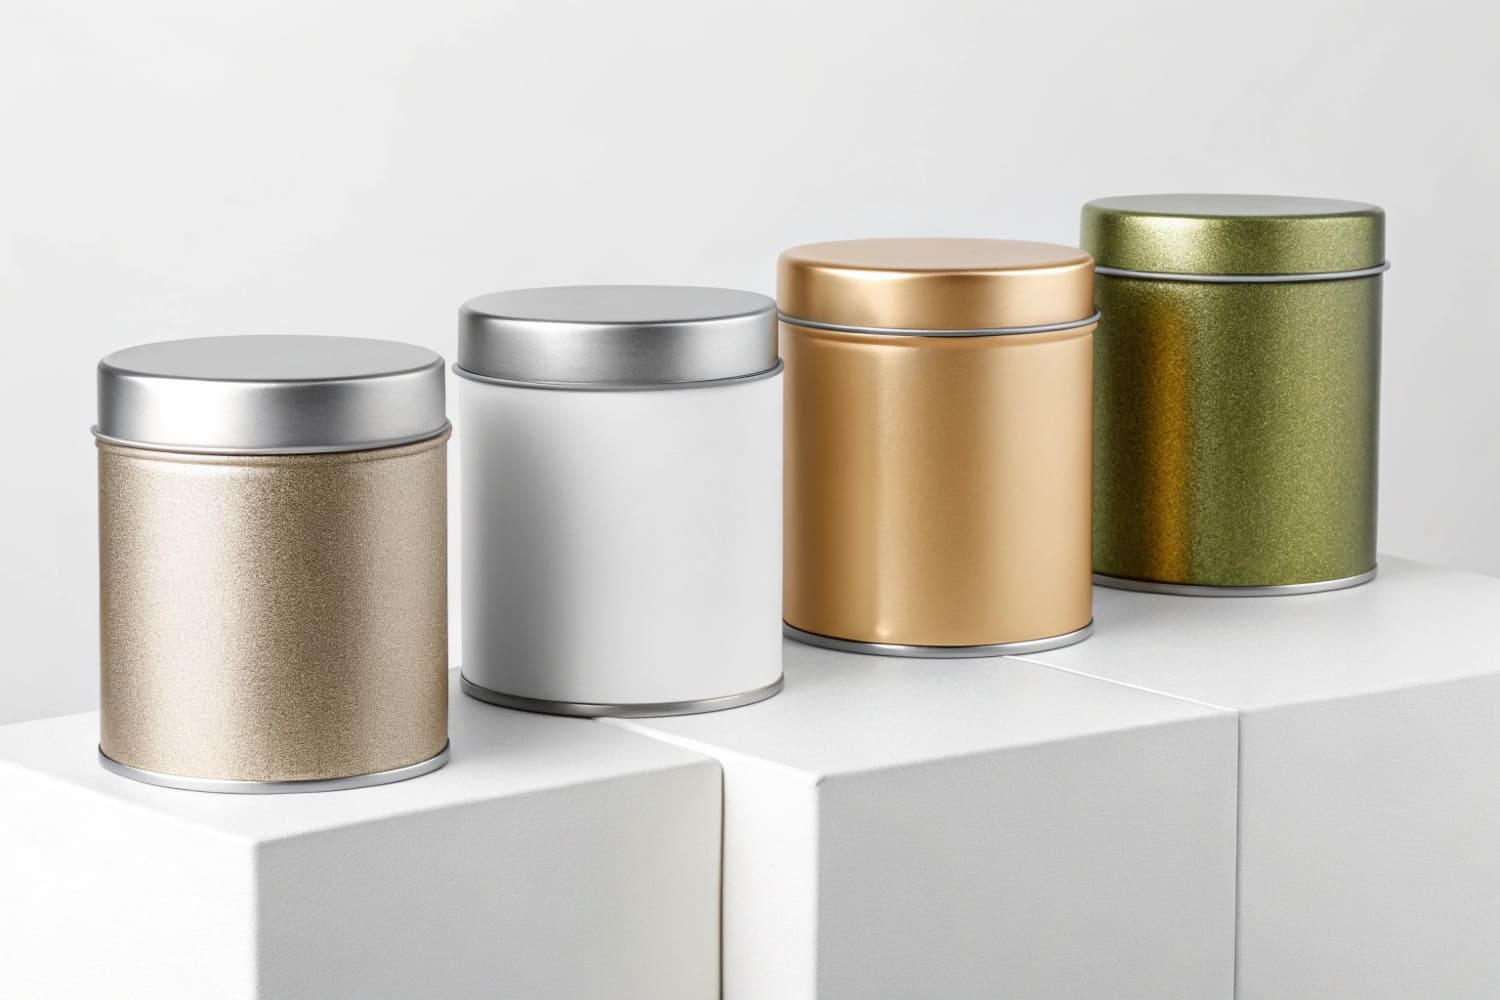
You spend months perfecting the artwork for your personalized tins, but if you choose the wrong finish, your premium product can end up looking like a cheap generic container. A poor finish choice leads to scratched logos during shipping, dull colors that fail to pop on the shelf, or a texture that feels "sticky" rather than luxurious. You need a coating strategy that enhances your brand's perceived value while surviving the supply chain.
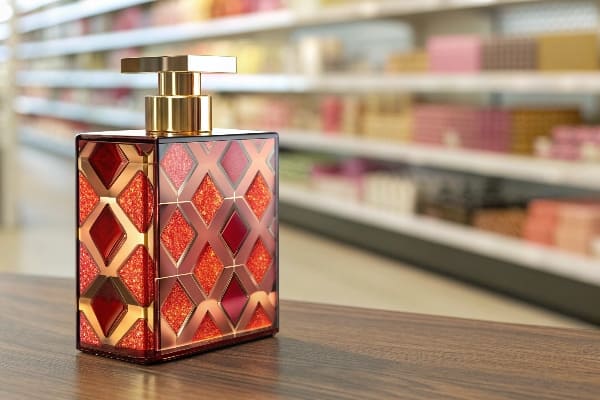
Varnish options for personalized tins include specialized coatings applied during the lithographic printing process to seal the ink and define the product's aesthetic. Common choices include Gloss Varnish for a vibrant, reflective "wet look," Matte Varnish for a sophisticated, non-glare finish, and Satin Varnish for a balanced sheen. For premium applications, brands utilize Spot UV to highlight specific logos or Soft-Touch Varnish to create a tactile, velvet-like experience that encourages customer interaction.
Choosing the right varnish isn't just a technical detail; it is the final emotional handshake between your product and the customer.
What is varnish for printing?
Most buyers think ink is the final step. It's not. Without a seal, your brand colors look dull and scratch instantly. You need armor for your artwork.
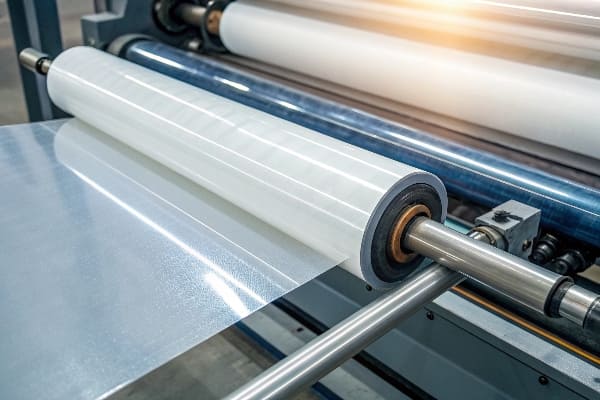
In printing, varnish is a transparent liquid coating applied inline over printed artwork to seal the ink and manipulate surface reflection. This protective layer functions as a chemical barrier against moisture, fingerprints, and abrasion while preventing "set-off" (ink transfer) between stacked sheets during the high-speed manufacturing process.
The Chemical Shield vs. The "Dry-Back" Disaster
I see this mistake constantly. A buyer from Chicago wants to cut costs by $0.03 per unit, so they ask, "Can we skip the varnish?" I tell them: "Sure, if you want your logo to look like it was printed in a garage."
Here is the physics of the factory floor: We use Lithographic (Offset) Printing1 for high-quality packaging. The ink is oil-based and wet. When we print on CCNB (Clay Coated News Back)2—which is the standard recycled cardboard material—the paper acts like a sponge. It sucks the binder right out of the ink.
Without varnish, the pigment sits on top, dry and chalky. This causes two disasters. First, "Dry-Back." The beautiful "Coke Red" you approved on your screen turns into a dull, muddy brick color because the gloss absorbed into the fibers. Varnish stops this. It acts as a "lid," keeping the ink wet-looking and saturated.
Second, "Scuffing." During shipping, thousands of displays vibrate against each other in the truck. Without varnish, the abrasive friction rubs the ink right off. I've had to scrap a batch of 1,000 floor displays because the black text turned into white streaks before it even reached the Walmart distribution center. Varnish isn't just decoration; it's structural integrity for your brand image.
| Feature | Raw Ink (No Varnish) | Varnished Print |
|---|---|---|
| Abrasion Resistance | Very Low (Scratches instantly) | High (Resists shipping vibration) |
| Drying Time | Slow (Needs hours/days) | Fast (Sealed inline) |
| Color Saturation | Dull (Suffers "Dry Back") | Vibrant (Retains gloss) |
| Surface Feel | Rough / Papery | Smooth / Uniform |
I always advise clients that varnish is not an optional upgrade; it is an essential insurance policy. Spending pennies now prevents the entire shipment from being rejected for cosmetic damage later. If you are worried about the cost, let me show you how a simple aqueous coating saves your brand reputation.
What are the different types of varnish?
You have a vision in your head—maybe it's shiny and loud, or maybe it's subtle and elegant. But different varnishes behave differently under store lights and in customer hands.
The different types of varnish include Gloss Varnish, Matte Varnish, Satin Varnish, and specialty textured coatings like Soft-Touch. Gloss Varnish creates a highly reflective surface that maximizes color contrast and shelf impact. Matte Varnish absorbs light to provide a muted, elegant look ideal for luxury branding, while specialized UV coatings offer extreme hardness and resistance to chemicals or heat.
The Aesthetic Battle: "Look at Me" vs. "Touch Me"
Choosing a type isn't just about what you like; it's about what you want the customer to do.
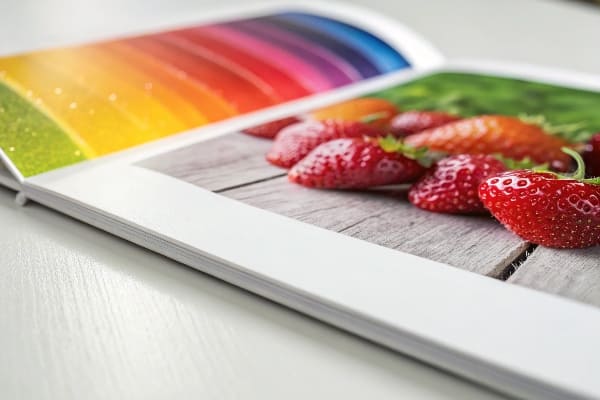
1. Gloss Varnish (The "Supermarket" Standard):
This is the most common choice for food tins and high-volume retail.
- The Customer Win: It reflects light aggressively. On a crowded shelf, a Gloss tin catches the overhead LEDs and flashes at the consumer. It screams "New" and "Clean."
- The Factory Reality: It's tough. Gloss varnish is usually the hardest finish. It resists scratches from shopping carts and fingernails better than anything else.
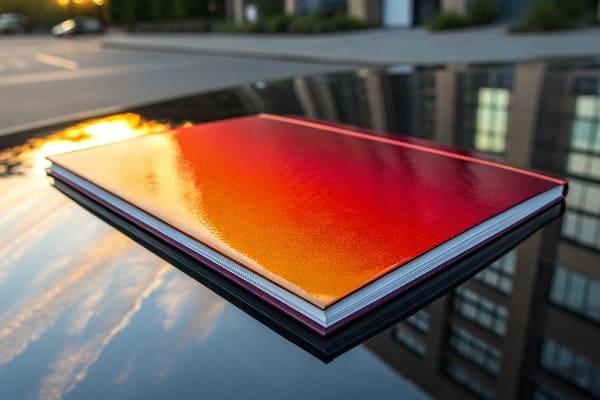
2. Matte Varnish (The "Luxury" Signal):
If you are selling a $50 tea set or premium cigars, Gloss looks cheap. You want Matte.
- The Customer Win: Matte feels understated. It says, "I don't need to shout." It diffuses light, making the text easier to read because there is no glare.
- The Messy Truth: Standard Matte scratches easily. We call it "burnishing." If a customer scrapes their fingernail across a standard matte tin, it leaves a shiny mark. For my high-end clients, I refuse to use standard matte. I use "Anti-Scuff Matte3" additives. It costs 5% more, but you can drag a key across it without leaving a trace.
3. Soft-Touch (The "Velvet" Trap):
This is the trendy "Apple-style" packaging finish. It feels like rubber or velvet.
- The Customer Win: It forces interaction. Once a customer picks it up, they don't want to put it down because it feels so good.
- The Failure Point: I had a client do Soft-Touch on a black cosmetic tin. It looked amazing in the meeting room. But in the store? The natural oils from customers'fingers left permanent greasy fingerprints all over the black surface. It looked filthy within 2 days.
- My Solution: If you want Soft-Touch, do not use solid black unless you add a specific "Anti-Fingerprint" coating (oleophobic coating). Otherwise, stick to lighter colors or patterned designs where prints hide better.
4. Crackle / Wrinkle Varnish4 (The "Texture" Play):
Specific to metal tins, we can use a varnish that intentionally "wrinkles" when cured. It gives a vintage, grippy texture—perfect for tool kits or retro candy brands. It hides scratches perfectly because the surface is already uneven.
| Varnish Type | Visual Effect | Durability | Best For |
|---|---|---|---|
| Gloss | Wet / Shiny | High | Food, Toys, Mass Market |
| Matte | Flat / Dull | Moderate | Luxury, Organic, Vintage |
| Satin | Semi-Gloss | High | Text-heavy designs (No glare) |
| Soft-Touch | Zero Glare | Low (Shows oil) | Premium Tech, Cosmetics |
| Crackle | Textured / Rough | Very High | Industrial, Retro styles |
What kind of varnish should I use?
This decision dictates how your product performs in the real world. A tin of cookies in a humid kitchen needs different protection than a candle tin exposed to heat.
To choose the correct varnish, brands should evaluate the product's end-use environment, the level of handling it will endure, and the desired visual hierarchy. For high-touch items like collectible tins, durable Gloss or Anti-Scuff Matte is essential to prevent wear. For products requiring strong shelf presence, Spot UV over a Matte base creates a high-contrast visual anchor that draws the eye to the logo.
The "Use Case" Logic (Don't Design in a Vacuum)
I always ask my clients: "Where does this tin live after the purchase?"
Scenario A: The Kitchen Counter (Food/Ingredients)
If you are selling coffee, tea, or cookies, the tin will be handled daily. It will sit near a kettle (steam) or an oven (heat).
- The Recommendation: You need Gloss Varnish5 or a Heat-Resistant Satin. Why? Because matte finishes are porous. Over time, kitchen grease and steam will stain a matte tin. Gloss creates a wipeable, non-porous surface that stays sanitary.
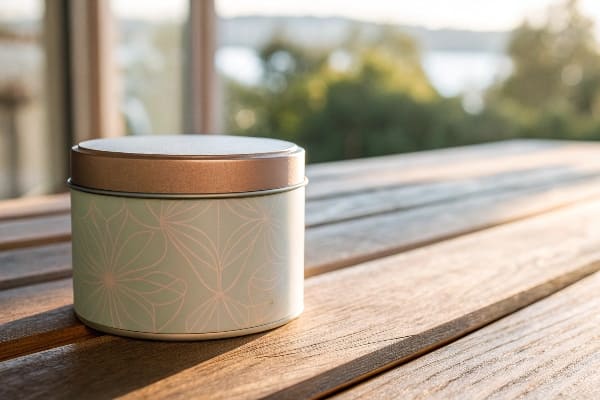
Scenario B: The Gift / Keepsake (Jewelry/Cosmetics)
Here, durability matters less than "Wow Factor." The tin is part of the gift.
- The Recommendation: Spot UV6. This is my favorite technique for high-ROI branding. We coat the entire tin in a deep, silky Matte varnish, and then we apply a super-high-gloss UV coating only over your logo.
- Why it works: The contrast is hypnotic. The eye is biologically drawn to the difference between light (gloss) and dark (matte). It makes your logo pop out 3D-style without the cost of embossing.
Scenario C: The Tool / Utility Tin (Outdoor/Men's)
- The Recommendation: Crackle Finish7 or Heavy Duty Matt.
- The Physics: These products get thrown in truck beds or toolboxes. A high-gloss finish will look scratched and old in 24 hours. A textured Crackle finish hides the abuse, keeping the brand looking rugged rather than damaged.
The "White Ink" Variable:
Here is a technical trap. If you are printing on silver metal (tinplate), and you want a pure white background for your varnish, you must print a "White Base8" first. Varnish is transparent. If you put Gloss Varnish directly on metal, you just get shiny metal.
- My Protocol: I always print two hits of white opaque ink before applying the varnish for my clients who want that "Apple White" clean look. If we only do one hit, the metal grain shows through, and it looks cheap and grey.
| Product Category | Recommended Finish | "Why?" (Customer Logic) |
|---|---|---|
| Premium Chocolate | Spot UV on Matte | "It looks like a gift, not a snack." |
| Tea / Coffee | Satin / Gloss | "I can wipe it clean in the kitchen." |
| Men's Grooming | Matte / Crackle | "It feels rugged and masculine." |
| Holiday Promo | High Gloss + Metallic | "It sparkles under Christmas lights." |
What is the difference between laminating and varnishing?
Clients often ask for "Lamination" on tins because they know it makes paper boxes strong. But in the world of metal and rigid packaging, these are two very different technologies.
The difference between laminating and varnishing is that varnishing is a liquid coating cured onto the surface, while laminating is the application of a physical plastic film. For metal tins, varnishing is the industry standard as it bonds directly to the metal during high-heat curing. Lamination is typically reserved for paper packaging or labels, providing a tear-resistant plastic barrier that is thicker and more protective than liquid varnish.
The "Peel" Risk vs. The "Heat" Bond
In my factory, we handle both cardboard boxes (for shipping the tins) and the tins themselves. The rules change depending on the material.
On Metal Tins (Varnish Only):
You cannot "Laminate" a metal tin in the traditional sense. If you tried to glue a plastic film over a shaped metal tin, it would peel off at the curves and corners instantly.
- The Process: We use Thermal Curing Varnish9. The printed metal sheets go through an oven at 300°F+. The varnish literally bakes into the metal pores. It becomes part of the tin. You can't peel it off. It flexes with the metal when we stamp it into shape.
On Paper Packaging (Lamination Options):
If you are asking about the box that holds the tin, then Lamination is on the table.
- The Benefit: Film Lamination (PP/PET) adds structural strength. It stops the paper from cracking at the folds.
- The Failure: I had a client try to save money by using Varnish on a heavy black gift box. When they folded the box lid, the paper fibers snapped, creating ugly white cracks along the edges. We switched to "Soft-Touch Lamination10". The plastic film stretched over the fold, holding the black ink perfectly intact.
Sustainability & The "Plastic Tax":
This is the new headache for us manufacturers.
- Varnish: Usually eco-friendly. It burns off or breaks down during recycling.
- Lamination: It is plastic. In Europe and some US states (like California's SB 54), using plastic lamination on a paper box can trigger higher EPR (Extended Producer Responsibility) taxes11 or render the package "Non-Recyclable."
- My Advice: For the tin itself, varnish is standard and recyclable (metal is melted down). For the box, try to stick to Aqueous Varnish12 if you want to market your brand as "100% Plastic Free." Only use Lamination if you absolutely need the tear resistance.
| Feature | Liquid Varnish (Tins/Paper) | Film Lamination (Paper Only) |
|---|---|---|
| Bond Type | Chemical / Heat Cure | Adhesive / Glue |
| Flexibility | High (Moves with metal) | Moderate (Can delaminate on curves) |
| Thickness | Thin (~0.005mm) | Thick (~0.025mm) |
| Recyclability | Excellent | Poor (Mixed Material) |
| Cost | Included in print cost | Extra process (+15%) |
Conclusion
Your choice of finish tells the customer how to treat your product: to cherish it as a keepsake or to toss it in the bin. Don't let a generic coating devalue your brand.
Would you like me to send you a Free Physical Sample Kit containing Gloss, Matte, and Spot UV finishes so you can feel the difference in your own hands before you order?
Explore this link to understand how Lithographic Printing enhances packaging quality and brand image. ↩
Learn about CCNB to see why it's the preferred choice for sustainable and high-quality packaging solutions. ↩
Explore the advantages of Anti-Scuff Matte to enhance your product's durability and appeal. ↩
Find out how Crackle / Wrinkle Varnish can add unique texture and character to your products. ↩
Explore the advantages of Gloss Varnish for packaging to enhance durability and aesthetics. ↩
Learn how Spot UV can elevate your branding and make your products stand out on the shelf. ↩
Discover the unique benefits of Crackle Finish for rugged packaging that withstands wear and tear. ↩
Understand the significance of a White Base for achieving high-quality prints on metal surfaces. ↩
Explore this link to understand how Thermal Curing Varnish enhances durability and integrates with metal, ensuring long-lasting finishes. ↩
Discover the advantages of Soft-Touch Lamination, including its aesthetic appeal and protective qualities for packaging. ↩
Learn about EPR taxes and their implications for manufacturers, especially regarding sustainability and compliance. ↩
Find out how Aqueous Varnish can help brands achieve eco-friendly packaging while maintaining quality and performance. ↩


