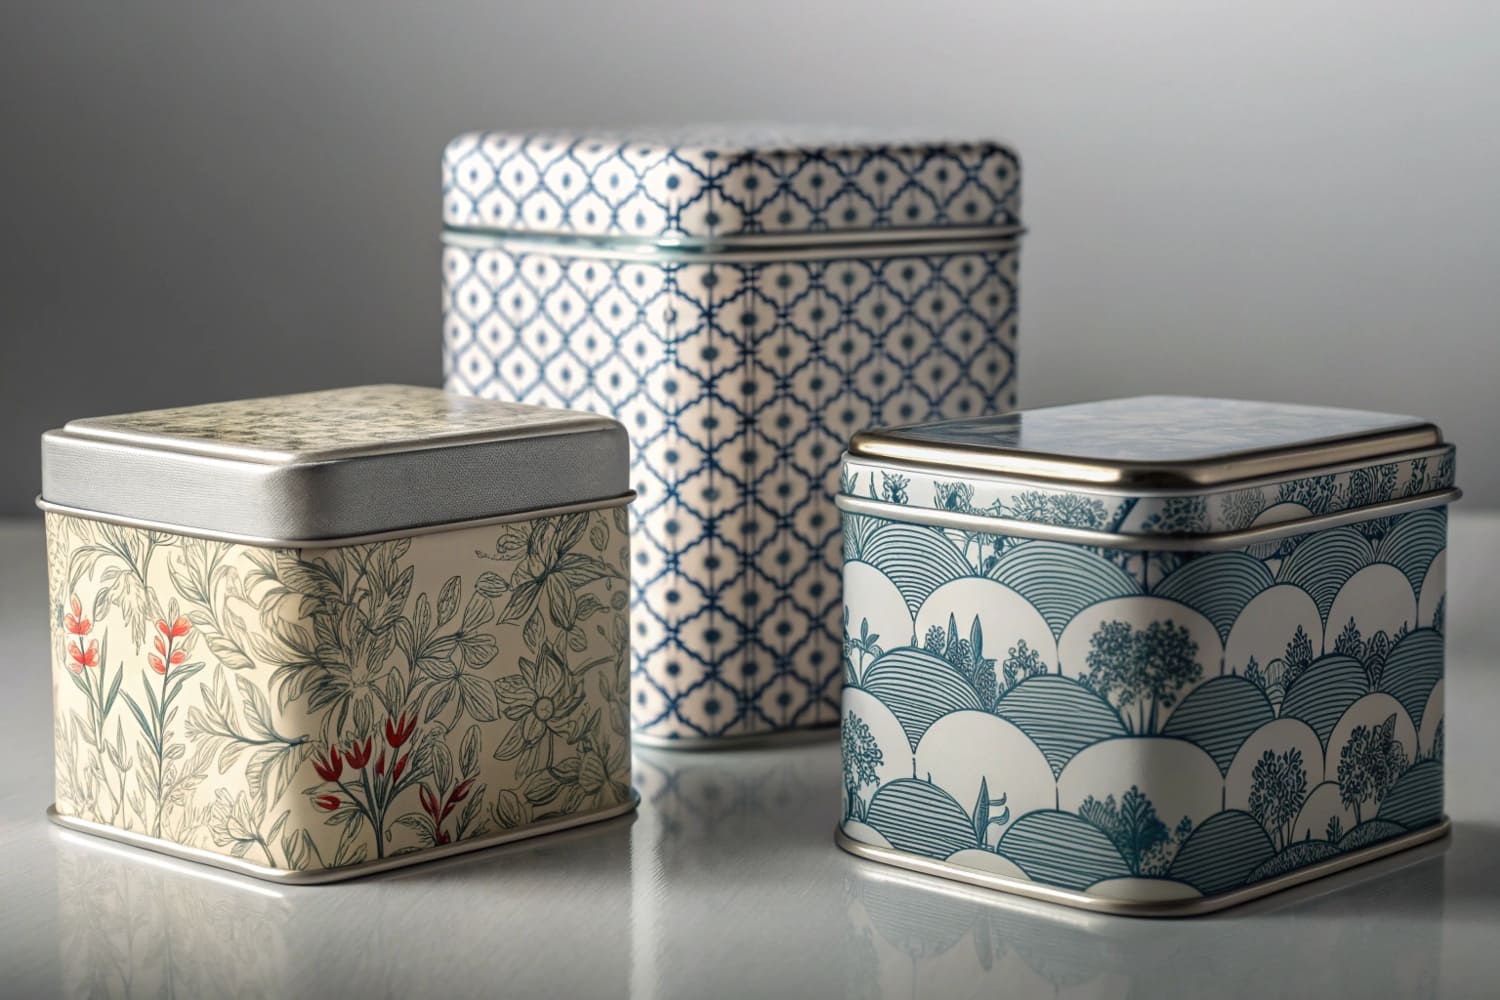
I meet buyers who want strong shelf impact and fast turns. They worry about color match. They fear dents and scuffs. I show a simple path from art file to glossy tins that sell.
To print on custom tin boxes, I choose a print method (lithography, UV offset, or digital), prepare CMYK artwork with spot colors if needed, print on tinplate sheets with food-safe inks, add protective coating, then form, seam, and QA each box.

I will walk through each step with clear choices. I will show pros and cons. I will also share how I manage color, cost, and timelines for B2B orders.
How do you print on tin?
Many teams think tin needs special art skills. The files look the same, but metal reflects light. Small shifts look big on shelf. I set the rules early, so no one guesses.
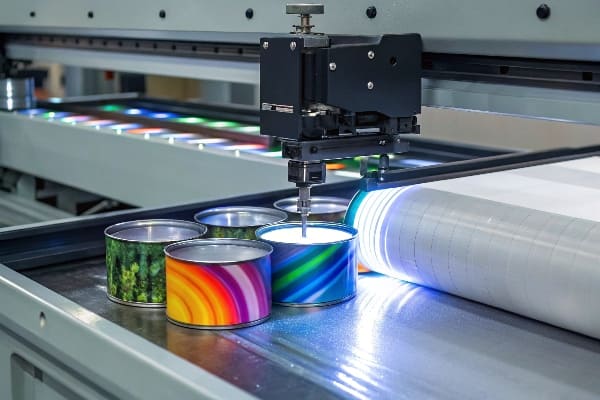
I print on tinplate sheets using offset lithography or UV printing, convert artwork to CMYK with defined spot colors, apply a primer and over-varnish, then stamp and seam the tins after the ink cures.
Methods, coatings, and controls
I start with the product goal. Food tins need food-safe inks1 and a proven varnish. Gift tins may need soft touch. Promo tins often need fast runs. I choose the process that fits.
Print methods I use
– Offset lithography: I use it for large runs. It gives sharp type and stable color. Plates cost more at the start. Unit cost drops fast.
– UV offset or UV digital: I use it for special effects or faster cure. It resists scuffs. It helps on dark inks.
-* Silkscreen for spot hits: I add a white flood or metallic accent. I keep it for logos or small areas.
Coating choices
I add a primer for adhesion. I add over-varnish for gloss, matte, or soft touch. I test rub resistance with simple swab tests. I check forming crack on bends, since edges can break ink.
Tolerance, color, and seams
Tin has seams and radii. I mark a seam keep-out in the dieline. I add 3–5 mm bleed. I enlarge small type. I avoid hairlines across corners. I run a Delta E2 target for brand colors. I share a wet proof or a drawdown. I log color data at press.
| Step | What I do | Why it matters |
|---|---|---|
| Prepress | CMYK + spot map, trap, bleed | Less shift in forming |
| Plates | Calibrate curve | Stable tone value |
| Food-safe inks, UV or heat set | Safe and clean | |
| Coat | Gloss/Matte/Soft touch | Brand feel and scuff control |
| Form | Stamp, curl, seam | No crack at edges |
| QA | Delta E, rub, drop test | Color, strength, safety |
I keep samples from start, mid, end of the run. I label them with time and press. I keep them for repeat orders.
How do you print on custom size paper?
Teams send art for headers, inserts, and belly bands. Sizes change by retailer. Paper must fit the tin and the shelf. I set one print plan that scales well.
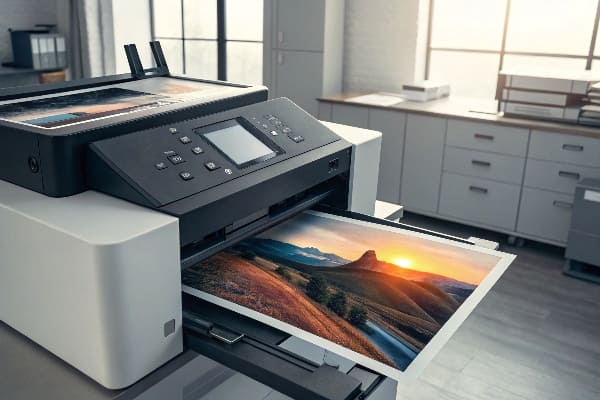
I print custom size paper by setting the exact trim and bleed, imposing the layout to fit the press sheet, choosing stock and finish, and running digital or offset based on run size and color needs.
Stocks, formats, and imposition
I begin with the shelf rule. Some chains cap header height. Some want thicker bands. I confirm the final trim with the tin supplier and the retailer. Then I build files.
Paper choices
— Coated C2S 200–300 gsm: I use this for belly bands and sleeves. It holds color. It folds clean.
— Uncoated 120–200 gsm: I use this for rustic feel or writable coupons.
— Kraft 200–250 gsm: I use this for eco look. I adjust ink limits.
Print path
For short runs3 or many SKUs, I use digital. I can do variable barcodes or promo codes. For long runs, I switch to offset to lower unit cost. I gang SKUs on a parent sheet. I set grain direction for smooth wrap around tins.
Finishing and QC
I pick lamination4 (matte or gloss) when bands need scuff resistance. I use aqueous when I want a lower cost seal. I add kiss cuts for easy open tabs. I proof the dieline on a real tin. I check color aim against the tin lid so paper and tin match.
| Item | Option | Notes |
|---|---|---|
| Digital / Offset | By run length and SKUs | |
| Stock | Coated / Uncoated / Kraft | Match brand feel |
| Finish | AQ / Lamination | Scuff and cost trade-off |
| Trim | ±0.5 mm | Check with tin fit |
| Color | CMYK + Spot | Match tin lid color |
| Pack | Flat / Band | Protect edges |
I ship flat packs with corner guards. I label cartons by SKU and store. This keeps launches on time.
What are custom printed boxes?
Many buyers ask if a "custom printed box" means only paperboard. It can be tin, corrugate, or rigid. The core idea is the same. The box tells the brand story and protects the product.
Custom printed boxes are packaging made to a brand's size, material, and artwork, produced with chosen printing and finishes, and delivered to protect products while displaying clear brand identity at retail or online.

Types, uses, and trade-offs
I map the use case first. A gift set needs a rigid box or tin. A PDQ needs corrugate. A lightweight item needs paperboard. I keep choices simple and tied to the goal.
Common types I supply
– Tin boxes5: Premium feel, long life, strong for gifts.
– Paperboard cartons6: Light, fast to print, many coatings.
– Corrugated shipper or PDQ: Strong for transit and in-store display in one unit.
– Rigid set box: High-end look for limited runs.
Print and finish options
I choose CMYK + spot for brand colors. I add foil, emboss, or soft touch for premium. I add matte to cut glare on LEDs. I add gloss for bold colors. I mark recycle icons and FSC when the buyer asks.
Cost, MOQ, and speed
I break down total cost, not just unit cost. I include plates, molding tools for tin, setup, and freight. I set MOQs by print path. Digital lowers MOQ. Offset lowers unit price. Tin needs forming tools, so the MOQ is higher but the shelf life is long.
| Box Type | Strength | MOQ Trend | Lead Time | Typical Use |
|---|---|---|---|---|
| Tin | High | Medium-High | Medium | Gifts, keepsakes |
| Paperboard | Low-Mid | Low | Fast | Cosmetics, light FMCG |
| Corrugate | High | Mid | Fast | PDQ, e-comm ship |
| Rigid | Mid-High | Mid | Medium | Premium sets |
I run test packs. I drop test. I check barcode scan under store lights. I build a path to repeat orders with the same settings.
How to paint a tin box?
Some teams want fast color without full print runs. Some want craft style. Some want to prototype finishes. I share simple steps that work in a small shop.
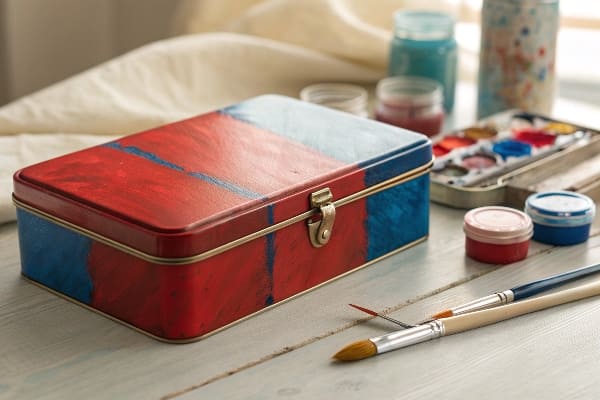
I clean, lightly sand, apply metal primer, spray thin color coats, let each coat cure, add a clear topcoat for durability, and finish with gentle bake or air dry before use.
Prep, paint, and protect
I start with a clean surface. I remove oil with isopropyl alcohol. I scuff with a fine pad. I mask seams and logos if I need them to stay bare.
Step-by-step I follow
1. Clean: I wipe the tin outside and inside. I keep dust away.
2. Sand: I scuff lightly. I do not cut through. I just key the surface.
3. Prime: I use a metal primer7. I spray thin and even. I wait the full cure time.
4. Color: I apply two to three light coats. I hold the can or gun at the right distance. I keep passes steady.
5. Detail: I use stencils for logos. I fix small runs with a cotton swab.
6. Topcoat: I add matte or gloss clear. I protect edges and corners.
*7. Cure: I air dry per paint spec. For faster work, I use low heat in a safe oven.
Safety and results
I paint in a ventilated space. I wear a mask. I test one sample before a batch. I record brand, batch, and cure time. I rub test after 24 hours. I do not paint food-contact areas. I line the inside with approved lacquer if needed.
| Stage | Tool | Tip |
|---|---|---|
| Clean | Alcohol wipe | Remove oil fully |
| Sand | Fine pad | Light pressure |
| Prime | Metal primer | Thin coats |
| Paint | Spray gun/can | Multiple light passes |
| Protect | Clear coat | Edges first |
| Cure | Air/low bake | Per spec sheet |
This method helps with mockups, photo shoots, and short runs. It is not a full factory print, but it looks clean and sells the idea.
Conclusion
Custom tins and boxes work when I match method, material, and finish to the goal. Clear files, tight QC, and simple rules give fast launches and repeat orders.
Understanding food-safe inks is crucial for ensuring product safety and compliance in food packaging. ↩
Exploring Delta E will enhance your knowledge of color accuracy, vital for maintaining brand consistency. ↩
Explore this link to understand how digital printing can save costs and enhance flexibility for short production runs. ↩
Discover the benefits of lamination, including durability and aesthetic appeal, to enhance your printed materials. ↩
Explore the advantages of tin boxes, including their premium feel and durability, perfect for gifts. ↩
Learn about the versatility of paperboard cartons, their lightweight nature, and fast printing options. ↩
Explore this link to find the best metal primers that ensure a smooth and durable finish for your painting projects. ↩


