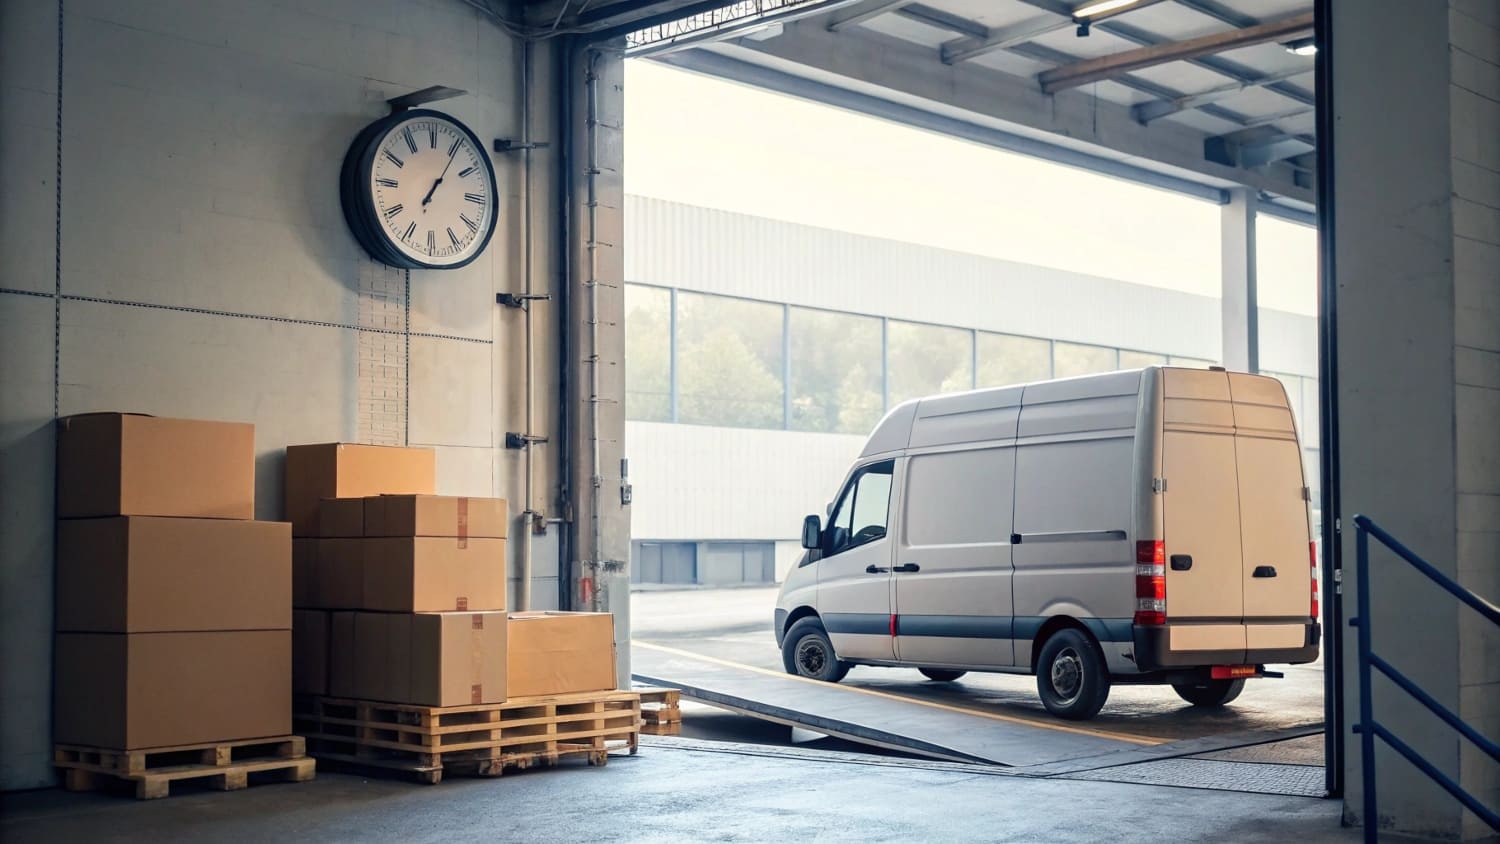
I know time kills margin. I see buyers lose end-caps and launch windows when packaging slips. I face the same pressure in displays, so I built a clear path to fast lead times.
Most custom printed rigid boxes take 12–25 days door-to-door: 2–4 days for dielines and proofing, 3–5 days for prototyping, 5–10 days for mass production, and 2–6 days for air shipping. Simple art, standard sizes, and digital print finish closer to 12–15 days.

Here is my promise. I will show the fastest route first, then I will map the risks. I will keep the language simple. You can skim, pick a path, and hit your launch date.
How to get custom printed boxes?
My buyers want speed, clarity, and one inbox. Pain builds when files bounce. I fix that by locking scope early. I write the plan in one page. I remove unknowns before we print.
Use a 5-step flow: brief → dieline → artwork proof → prototype → mass run. Approve fast, keep specs standard, choose digital print when runs are small, and ship by air for launches.
The practical path that cuts days
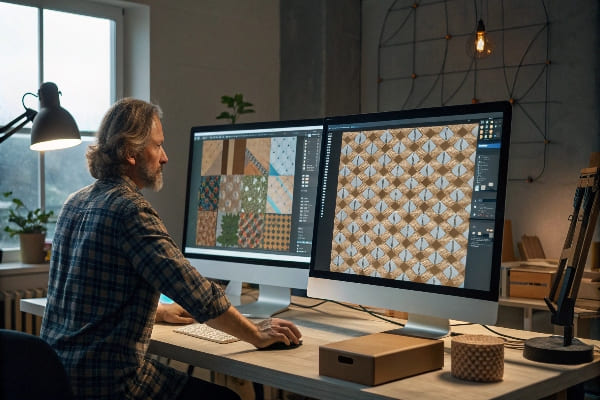
I keep the process short and visible. I start with a one-page brief that lists size, insert needs, finish, and target ship date. I attach photos of the product in a ruler shot. That saves two emails. I then issue a dieline within 24–48 hours. Your designer drops art into the dieline and sends back a print-ready PDF. I do a same-day preflight and return a soft proof with a clear "approve" button.
If you need touch and feel, I print a white sample or a printed mockup1. A white sample checks fit. A printed mockup checks color and finish. I run these in 3–5 days. I push mass production only after you sign off.
I use digital print2 for small runs and for rush jobs. It removes plating time. It also supports last-minute text edits. I keep sizes within our standard board library. That avoids re-tooling. I book air when time matters and ocean when margin matters.
Your 5-step timeline at a glance
| Step | What I do | Typical time | How you speed it up |
|---|---|---|---|
| Brief | Lock specs and dates | 0–1 day | Share ruler photos and weights |
| Dieline | Send cut file | 1–2 days | Accept standard tolerances |
| Proof | Preflight and confirm | Same day | Supply print-ready PDF/X |
| Prototype | White or printed sample | 3–5 days | Approve white sample if color is simple |
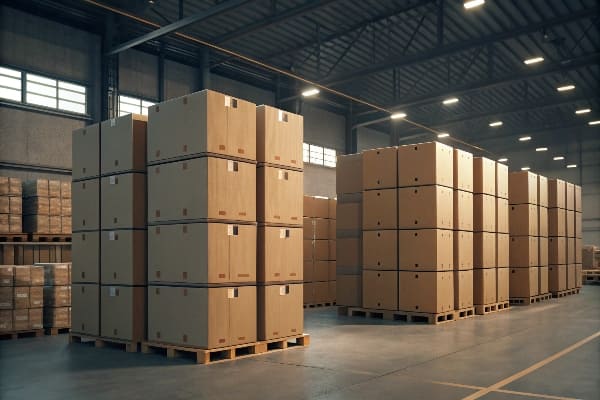
| Mass run | Print, wrap, QC, pack | 5–10 days | Choose digital print for <2k units |
I learned these habits in the cardboard display lane. A few years ago a seasonal bow display almost missed Black Friday. We cut a custom insert that added two days. I switched to a standard insert grid and hit the date. I now use the same playbook for rigid boxes when a launch window is tight.
What are the disadvantages of rigid boxes?
Rigid boxes look premium. They also move slow if we over-engineer them. Cost climbs fast when specs creep. Damage risk rises when weight meets weak corners.
Main drawbacks are higher unit cost, longer lead time, heavier shipping weight, and scuff risk on matte finishes. Complex inserts and magnet lids also slow production and raise failure rates.
What slows you down and how I mitigate it
I see four pain points. First, cost. Rigid boxes use greyboard, wrap paper, and hand assembly. Labor adds time and money. I cut cost by keeping sizes efficient on the sheet, choosing common paper weights, and removing extra foil plates.
Second, time. Wrap and cure steps take longer than folding cartons. I keep finishes simple when the clock is tight. Soft-touch looks great but scuffs and needs care. I switch to satin AQ when transit is rough.
Third, weight. Freight jumps with rigid boxes. I test board thickness. I often step down from 2.5 mm to 2.0 mm if drop tests still pass. I design snug but not tight. That helps assembly speed and protects edges.
Fourth, QC risk. Magnets, ribbon pulls, and deep lids can shift. I run a short pilot of 100 units to validate fixtures. I use barcode checks at pack-out to keep lids matched with bases.
Risk map and fixes
| Drawback | Why it happens | My fix | When to accept the trade-off |
|---|---|---|---|
| Higher unit cost3 | Handwork and finishes | Standard sizes, fewer plates, batch kitting | Flagship SKUs that need premium feel |
| Longer lead time4 | Wrap, cure, QC | Digital print, simple lamination, parallel kitting | When retail date is flexible |
| Heavier freight5 | Thick board and inserts | Optimize board caliper, pack flat accessories | When unboxing must feel weighty |
| Scuff and edge wear6 | Soft-touch + dark inks | Satin or anti-scuff film, corner guards | Photo-ready PR kits only |
I saw similar issues in POP displays. A dark, soft-touch floor display looked rich in photos but scuffed in Costco trials. We moved to a satin finish and added edge buffers. Sell-through rose and returns fell. The same logic helps rigid boxes ship clean.
Why are custom boxes so expensive?
Buyers often think print drives cost. It does not. Handwork and time drive cost. Each wrap, magnet, ribbon, and insert adds touch points. Each touch point adds cents that stack into dollars.
Custom rigid boxes cost more because they are hand-assembled, use thicker boards and premium wraps, and require slower QC. Tooling, wastage, and freight weight raise the final price.
The cost stack you can actually control
I break cost into materials, labor, print, finishing, QC, and logistics. Materials include greyboard, wrap paper, liners, and inserts. Labor7 covers wrap, fold, and glue. Print includes plates or digital clicks. Finishing covers foil, spot UV, emboss, and magnets. QC checks dimensions, color, and adhesion. Logistics covers inner packs and freight.
You cannot erase these lines, but you can tune them. I reduce waste by nesting parts on the sheet. I choose one foil color across SKUs to reuse tooling. I avoid deep lids that need more wrap paper. I pick inserts that are die-cut paper or E-flute when foam is not required. I confirm color on the wrap stock before mass, since different papers shift ink density and can trigger reprints.
Cost levers that move the needle
| Cost area | Big driver | What I change | Typical savings |
|---|---|---|---|
| Labor | Hand wrap complexity | Reduce panel count, simplify folds | 8–15% |
| Materials | Board and wrap | Optimize caliper, standard paper | 5–10% |
| Plates and make-ready | Digital for short runs, gang runs | 3–8% | |
| Finishing | Extra effects | One foil, limited spot UV | 2–6% |
| Freight | Dim weight | Tighter ship cartons, lighter inserts | 5–12% |
When I built a holiday countertop display run for a hunting brand, the team wanted triple foil, deep lid, and velvet insert. I priced it and showed the delta. We kept a single foil, used a high-build varnish for pop, and swapped velvet for dyed paperboard. The look stayed premium. Landed cost dropped by double digits. That deal turned into repeat orders the next spring.
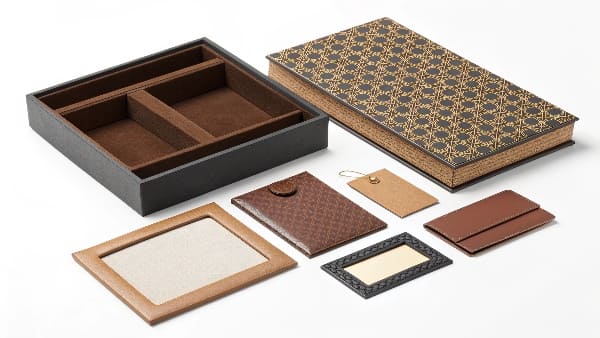
What are the benefits of custom two piece rigid boxes?
Two piece rigid boxes look classic. They stack well. They present product fast. Lids lift, photos look clean, and retail staff work quicker. Brands win space and speed.
Two piece rigid boxes offer premium shelf presence, strong stacking, fast unboxing, flexible inserts, and easy size scaling. They balance protection with a simple structure for faster assembly and QC.
Where two piece boxes8 outperform and how I use them
I like two piece boxes for retail and DTC. The base and lid are simple, so handwork is steady and predictable. That improves yield. Stacking strength is good because the lid overlaps the base. Displays and photo shoots benefit from the clean geometry and flat lid top. Inserts are flexible. Paperboard, E-flute, molded pulp, and PET trays all fit. I match the insert to the product weight and channel.
These boxes also scale sizes without new learning on the line. If you keep proportions, operators move from a 6-inch box to a 10-inch box with no new steps. That saves time during ramp-ups. I also see fewer shipping claims because the lid adds edge protection. For dark wraps I choose anti-scuff film or satin AQ to keep lids photo-ready after transit.
Fit-for-purpose guide
| Use case | Why two piece wins | My build notes |
|---|---|---|
| Premium retail | Clean lines and strong stack | 2.0–2.5 mm board, satin or anti-scuff |
| Gift and PR kits | Fast unboxing on camera | Lift-off lid, single foil, rigid paper insert |
| DTC shipping | Edge protection and tidy pack | Corner guards, test drop at 80 cm |
| Multi-SKU families | Easy size scaling | One dieline family, shared inserts where possible |
I bring lessons from floor POP displays here. On a fall camo launch, we needed rigid boxes on the shelf beside a tall aisle display. The two piece box matched the display art and stacked in three facings. Staff could restock fast. Sell-through beat forecast, and the client booked a spring reorder with only color tweaks. Speed, repeatability, and clean brand cues made the difference.
Conclusion
Fast custom rigid boxes are possible when specs stay simple, proofs move same-day, and production runs in parallel with logistics.
Discover techniques for creating impactful printed mockups that can improve your design approval process. ↩
Explore this link to understand how digital print can streamline your production process and enhance flexibility. ↩
Understanding the causes of higher unit costs can help you find effective strategies to reduce expenses in packaging. ↩
Exploring ways to reduce lead times can significantly improve your production efficiency and meet deadlines. ↩
Learning about the impacts of heavier freight can help you optimize shipping strategies and reduce costs. ↩
Discovering methods to prevent scuff and edge wear can enhance the durability and presentation of your packaging. ↩
Exploring labor cost reduction strategies can lead to significant savings and improved operational efficiency. ↩
Explore this link to understand how two piece boxes enhance retail packaging, improving efficiency and aesthetics. ↩


