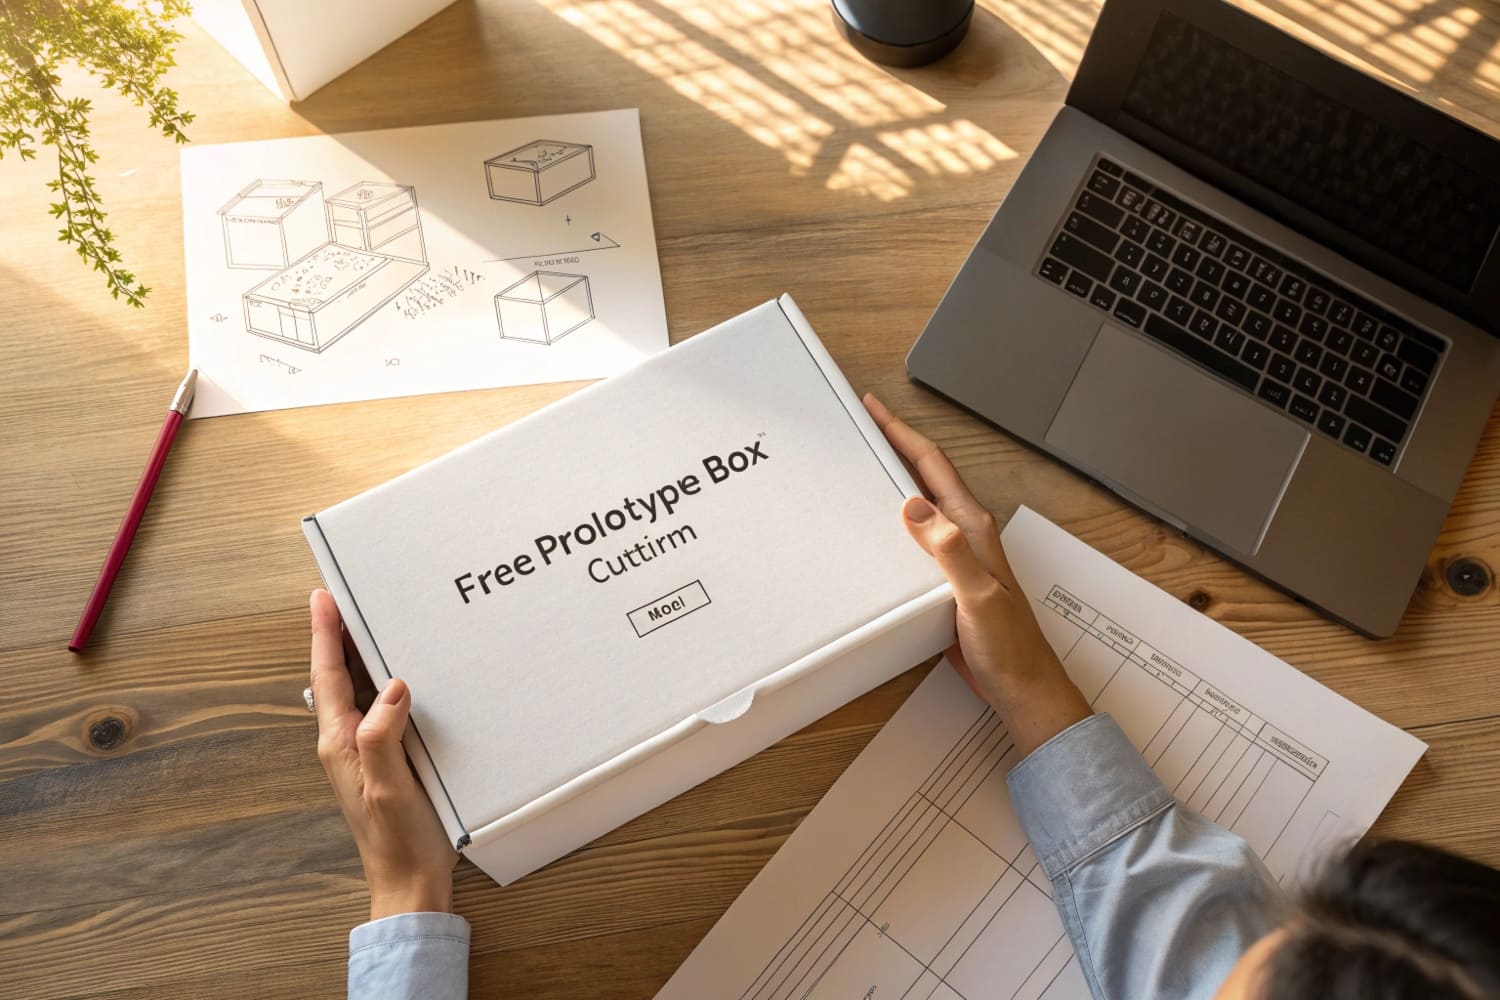
I know you need boxes that look good and cost less. I also know deadlines are tight, and mistakes are pricey. I will show simple steps that work.
Use lightweight corrugated board, standardize sizes, print with one or two colors or digital short runs, design for flat-pack shipping, and test a sample before mass production. This cuts material, print, and freight costs while keeping your brand visible.

I will keep things clear and real. I will use what I do every week in my factory. I will also share a short story from a hunting-gear display launch that taught me speed and control.
How to make cheap packaging?
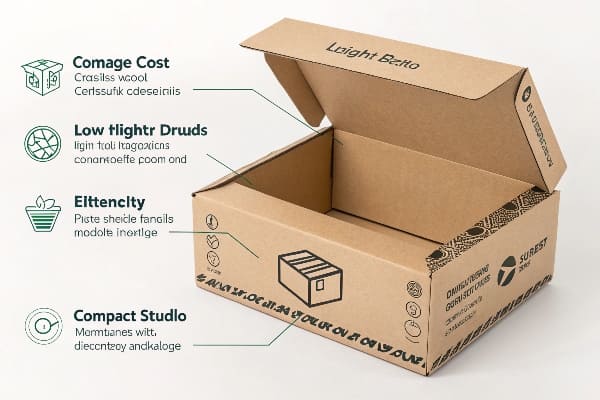
Many brands overspend because they pick complex boxes first. They chase fancy looks, then fight costs later. I suggest a cost-first plan that still looks premium.
Pick corrugated board, lock in 2–3 standard sizes, limit colors, use flat-pack structures, and run a quick sample test before you scale. You will save money and time without losing impact.
The cost-first framework that still sells
I plan from the bill of materials down to freight. I start with the product size and weight. I choose single-wall corrugated for most boxes to keep cost low and strength high. I choose E-flute1 or B-flute based on print detail and stacking needs. I limit ink to one or two spot colors or a clean digital print. I avoid film lamination unless the product needs moisture protection. I also design for flat-pack to fit more units per pallet. This lowers freight per unit.
Cost levers and quick wins
| Step | What I do | Cost Impact | Simple Tip |
|---|---|---|---|
| Material | Single-wall corrugated2 | High | Use E-flute for detail, B-flute for strength |
| Format | Two or three master sizes | High | Size to your longest SKU, then shim |
| Printing | 1–2 spot colors or digital | Medium | Use big type and white space |
| Finishing | Skip film where possible | Medium | Use water-based varnish |
| Logistics | Flat-pack and nest | High | Target full pallet height |
| QA | One pre-production sample | High | Test crush, drop, and color |
Last year I helped a crossbow brand hit a fall launch. We chose a two-color box with large brand type. We used E-flute for print clarity. We saved 18% on print and 12% on freight. The look stayed bold, and the store team loved the fast setup.
How to make your own packaging box?
Many teams want control of design, sample, and strength tests. They want less back-and-forth and fewer surprises. A simple in-house workflow helps.
Measure the product, select a corrugated grade, design a dieline, print a short run digitally, and do crush and drop tests before mass production. Keep every step in one simple checklist.
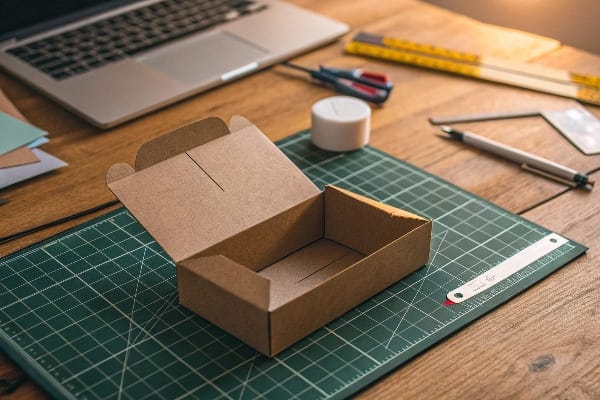
A practical DIY workflow I share with buyers
I keep the build simple. I set the inner size with 3–5 mm clearance each side. I choose E-flute3 for retail print or B-flute for heavier items. I design a regular slotted container (RSC) or a crash-lock base4 if staff need quick setup. I export a dieline with glue flap and tuck locks marked. I print a short digital run for proof. I then do a set of quick tests: edge crush, three-height drop, and tape peel. I also check color under store lights because LED light shifts tone.
My DIY checklist and tools
| Stage | Tool | Output | Tip |
|---|---|---|---|
| Measure | Caliper, scale | Size and weight | Add foam or kraft insert only if needed |
| Structure | CAD/dieline template | PDF dieline | Mark glue, folds, grain direction |
| Digital press | Short proof | Use same paper and coating as final | |
| Strength | Edge crush, drop test | Pass/Fail notes | Test worst-case packed weight |
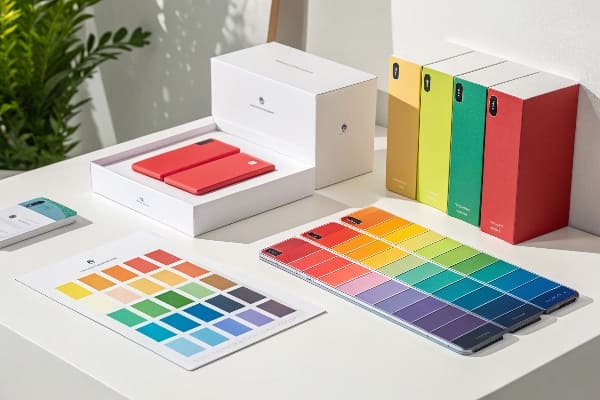
| Color | Light booth or store LED | Delta E check | Approve under 4000–5000K |
| Logistics | Pallet plan | Units per pallet | Stack test at top and middle tiers |
I once built a DIY kit for a sporting goods buyer who needed 200 samples in 72 hours. We cut E-flute sheets, printed digitally, and used crash-lock bases. We hit the date and used the same dieline for mass run. No redesign. No color shock.
Why is custom packaging so expensive?
Many costs hide in small choices. Extra colors, special coatings, and odd sizes raise unit cost fast. Freight, duty, and rework push it even higher.
Complex print, custom sizes, and extra finishes drive cost. Freight, tariffs, and quality failures add more. Standardize sizes, simplify print, and lock specs early to control cost.
The real cost stack I watch on every project
I track six buckets: material, print, finishing, labor, freight, and risk. Material jumps when we use heavy board or multi-wall without need. Print cost spikes with many spot colors or full-flood solids that demand more ink and tighter control. Finishing adds time and waste. Labor rises when assembly is slow or when the box needs handwork. Freight and duty hit when boxes ship assembled or when sizes do not cube out a pallet. Risk is the biggest hidden cost5. Color mismatches, glue issues, or weak corners cause reprints and delays.
Cost drivers vs. fixes
| Cost Driver | Why It Hurts | Fix I Use | Result |
|---|---|---|---|
| Too many colors | Extra plates, setup | Limit to 1–2 colors or digital | Lower setup, faster change |
| Film lamination | Material and waste | Water-based varnish | Protection without heavy cost |
| Odd sizes | Poor pallet density | Use standard footprints | More units per pallet |
| Hand assembly | Slow line | Crash-lock or auto-bottom | Faster packing |
| Assembled ship | Air in cartons | Flat-pack | Lower freight |
| Late changes | Rework and delays | Freeze specs after sample | On-time ship |
On one hunting tools display, a last-minute matte film request added five days and 9% cost. We switched to water-based varnish6. We kept the soft look. We shipped on time.
How to make packaging for your product?
Every product needs a fit-for-purpose box. The design must protect, look right, and ship well. The steps are simple if we follow a clear path.
Define product risk, choose board grade, design a protective structure, set print rules, test a pilot, and confirm palletization. This aligns protection, branding, and cost from day one.
A product-first method that works in retail and e-commerce
I start with risk. Is the item sharp, heavy, or moisture sensitive? I pick board grade by weight and stacking plan. I design structure to protect edges and sight lines. If stores use open shelves, I add a window or bold side panels. If the item ships online, I add inside pads or a tight insert rather than empty space. I choose large type, high-contrast logos, and a simple claim on the front. I keep the back for use steps and QR code. I print with one or two colors or a clean digital pass. I run a pilot of 100–300 units. I ship them through the real route to the DC. I check damage rate, setup time, and color under the store lights. I lock the spec only after this.
Product-fit matrix7
| Product Type | Box Choice | Insert | Print Plan | Notes |
|---|---|---|---|---|
| Lightweight accessory | E-flute tuck box | Kraft sleeve | 1–2 spot colors | PDQ-ready tray possible |
| Mid-weight gear | B-flute RSC8 | Die-cut corrugate | Digital short run | Add edge guards |
| Heavy or sharp | B/C combo (if needed) | Foam-lite + corrugate | 1 color + varnish | Test drop and crush |
| Moisture risk | Coated liner or nano-coat | Kraft tray | 1 color | Keep recyclability |
I recall a crossbow accessory launch with strict time lines. We built a B-flute RSC with an internal kraft tray. We used big branding and one orange spot color. We tested three drops and a 24-hour stack. Damage fell near zero. The buyer approved in one round. We met the release week.
Conclusion
Start simple. Lock sizes. Limit colors. Design for flat-pack. Test fast. Then scale with confidence.
Learn about E-flute's benefits in packaging, especially for print clarity and product protection, to enhance your packaging strategy. ↩
Explore the advantages of single-wall corrugated packaging to understand its cost-effectiveness and strength for your products. ↩
Explore this link to understand E-flute's advantages in packaging, especially for retail print, ensuring your products stand out. ↩
Learn about crash-lock bases and their efficiency in quick setups, making your packaging process faster and more effective. ↩
Understanding hidden costs can help you manage budgets better and avoid unexpected expenses. ↩
Exploring the advantages of water-based varnish can enhance your knowledge of cost-effective and eco-friendly finishing options. ↩
Understanding the product-fit matrix can enhance your packaging strategy, ensuring optimal protection and presentation for your products. ↩
Exploring the advantages of B-flute RSC can help you make informed decisions about packaging materials that ensure product safety and appeal. ↩


