Shoppers move fast. I fight clutter, low attention, and tight space. I solve this with simple layouts, strong displays, and proof from tests. That keeps sales steady and waste low.
Strong in-store placement starts with shopper missions, traffic flow, category roles, and retailer rules. I map hot zones, match displays to pack sizes, control facings by sales velocity, and test price and message. I track stock, damage, and setup time to protect margin.

I want you to get quick wins now, then build a system. I share clear steps, simple tables, and a few stories from my display projects. Keep reading and use what fits your store today.
What is product placement in store?
Shoppers decide fast. Many forget ads at the door. I place products where eyes land, where hands reach, and where traffic stops. I use displays that fit the goal.
In-store product placement means putting the right product, price, and message in the right shelf or display so shoppers notice, understand, and buy. It aligns with traffic, eye level, adjacencies, and store rules to lift conversion.
Why placement matters
I see placement as a quiet salesperson. It guides the eye, reduces choice stress, and speeds the grab. When I moved an outdoor tool from a low shelf to a waist-high tray display, unit sales rose because hands met product sooner. Cardboard displays1 help because they print bold, ship flat, and set up fast. They also cost less than metal fixtures, which helps when we test. In North America, stores value speed and reliable supply. In Asia-Pacific, growth is strong, and space turns fast, so light displays win. In Europe, shoppers watch sustainability2, so recycled board and water-based inks support trust. I track sell-through, damage, and setup time. If one design breaks or delays staff, I change it. I keep the message short. I use one benefit, one image, one price. That keeps attention from drifting.
Common placement types at a glance
| Placement Type | Goal | Best Use | Quick Tip |
|---|---|---|---|
| Shelf (eye/waist) | Core sales3 | High-velocity SKUs | Keep price blockers clean |
| Endcap | Awareness | New or seasonal | One hero, not five |
| Floor Display | Impact | Bulk or bundles | Add simple assembly |
| Countertop | Impulse4 | Small, low risk | Round price points |
| Pallet | Speed | Club or promo | Use bold side panels |
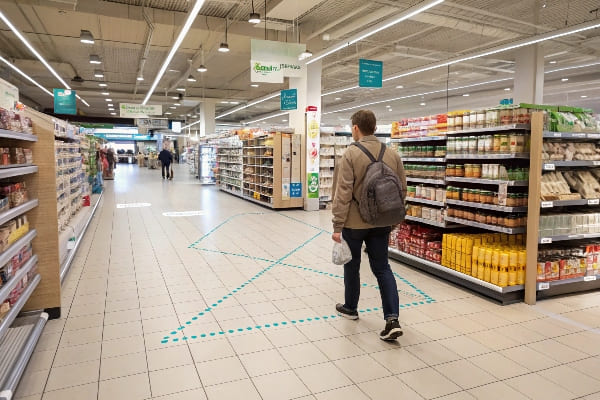
How to arrange products in a retail store?
Store space is tight. Staff time is short. I start with a walk path, then I place high-need items first, add trade-up options, and end with impulse near checkout.
I map traffic, set category roles, group by need state, rank SKUs by velocity and margin, fix eye-waist facings, add POP displays in hot zones, and lock replenishment rules. I validate with small A/B tests before scaling.
A step-by-step field playbook
I run a simple loop. I walk the path from entrance to checkout. I mark hot zones where carts slow or hands stop. I define roles: traffic builders5, profit drivers, and excitement items. I cluster by need state, not brand first. Shoppers think "problem then fix," so I group cleaning by task, or outdoor gear by season and use case. I set eye and waist levels for my best margin and my most popular SKUs. I keep kids'items lower. I place heavy or dangerous items safely. I use cardboard floor displays when I need speed and cost control. They print well, fold flat, and assemble in minutes. I keep the message short: one claim, one callout, one price. I write a one-page planogram6 with facings and pack counts. I set a simple rule for refill, like "refill when one facing is empty." I test one change per week to see cause and effect.
Arrangement checklist and roles
| Step | What I Do | Why It Works | Tool |
|---|---|---|---|
| Map traffic7 | Mark hot/cold spots | Focus effort | Heatmap sketch |
| Set roles | Traffic vs profit vs excite | Clear trade-offs | One-page brief |
| Rank SKUs | Velocity and margin | Protect cash | Sales report |
| Place displays | Endcaps, floor, counter | Lift notice | Cardboard POP |
| Refill rules | Min facings | Fewer outs | Shelf label notes |
| Test & learn8 | A/B one change | Real proof | Weekly review |
What are the rules for product placement?
Rules reduce debate. Teams move faster when rules are clear. I keep rules short, visible, and easy to train. I write them so a new staffer can act on day one.
Use simple rules: eye-level for heroes, waist-level for heavy movers, brand blocks by need state, clean price blockers, one message per display, stable facings by velocity, and safety before aesthetics.
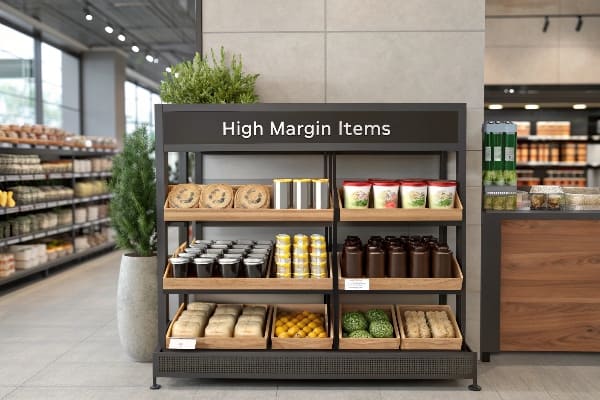
Practical rules I use and enforce
I keep seven rules on a single sheet. One: protect safety before looks. Heavy or sharp items stay low and secure. Two: keep the hero at eye level and the value ladder9 around it. Three: block by need state first, then by brand. Four: limit copy. One claim, one image, one price. Five: price blockers must be clean and aligned. Six: set facings by velocity and season. I increase facings for the top 20% SKUs and reduce long tails. Seven: displays must set up in minutes. Cardboard designs help because teams can fold and lock them with no tools. When deadlines hit, I prefer formats with fast setup10, like PDQ trays or pallet displays. Digital print lets me run small lots with custom art by region. That saves stock and meets short promos. I log each violation and fix it in the next reset.
Rule card for the aisle team
| Rule | Action | Measure | Owner |
|---|---|---|---|
| Safety first11 | Low and secure | Zero incidents | Store lead |
| Hero at eye | Center shelf | Sales lift | Category mgr |
| Need > brand | Group by task | Dwell time | Merch team |
| One message | Short copy | Read rate | Design lead |
| Clean price | Align tags | Ticket accuracy | Ops |
| Facings by data | 80/20 set | OOS rate | Planner |
| Fast setup12 | Flat-pack POP | Setup minutes | Field rep |
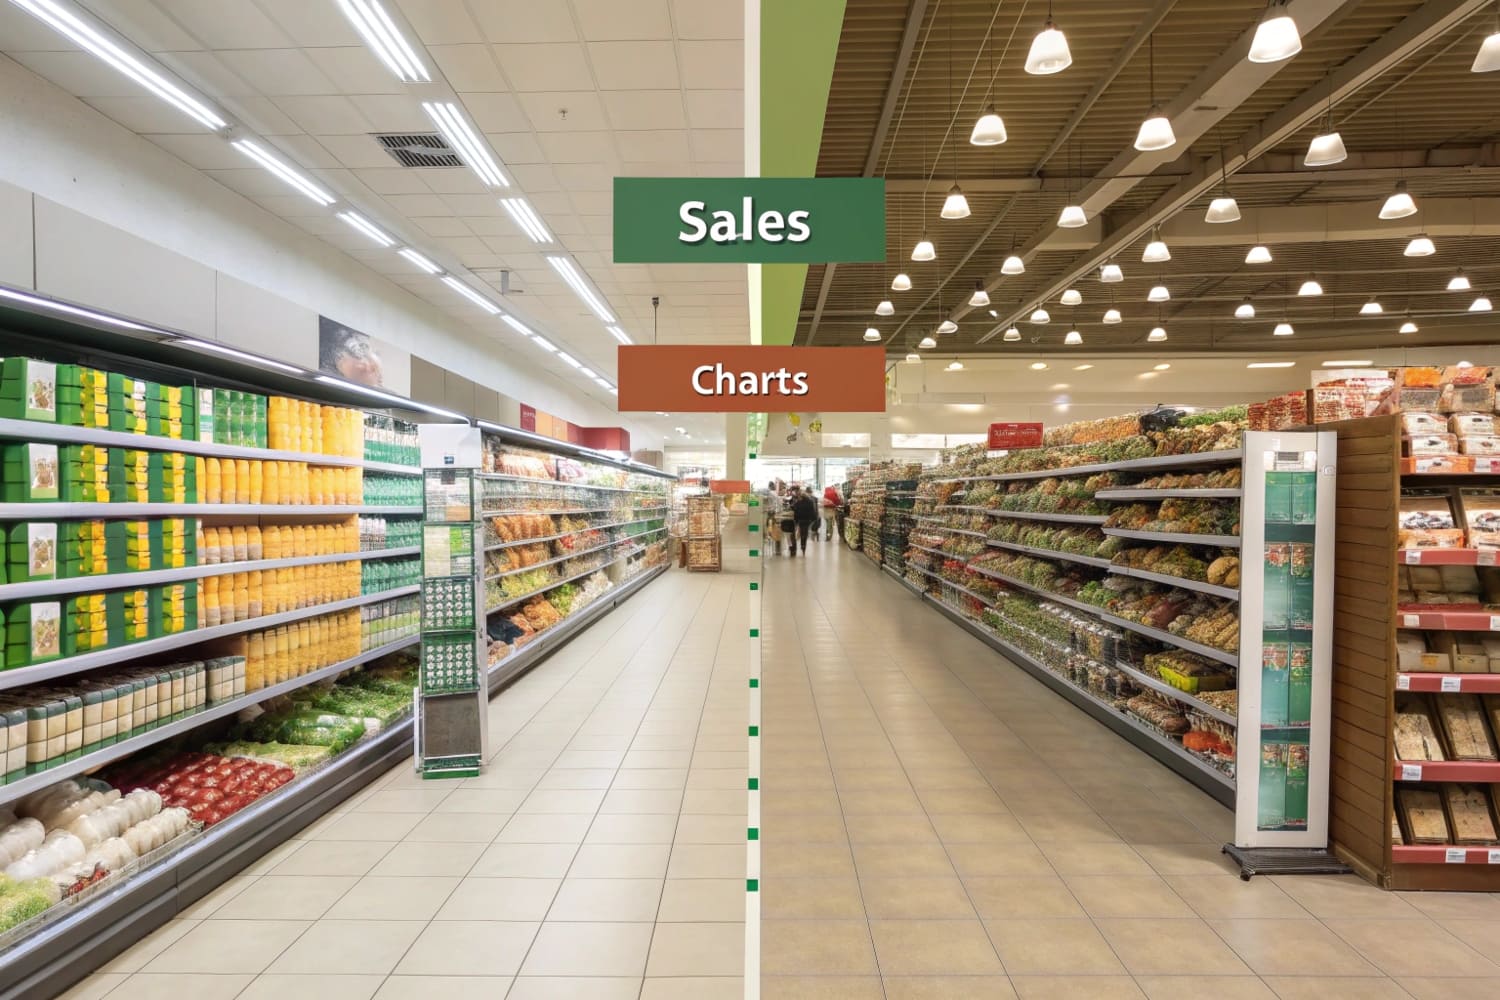
How are products arranged in supermarkets?
Supermarkets run on habit. Aisles follow a map. I match that map and win with tight execution. I use displays that move volume and fill fast. Staff time matters.
Supermarkets arrange by department, then category, then brand block. Staples sit on perimeter and center aisles. High-velocity SKUs hold eye-waist positions. Endcaps, pallets, and PDQ trays carry promos for speed and impact.
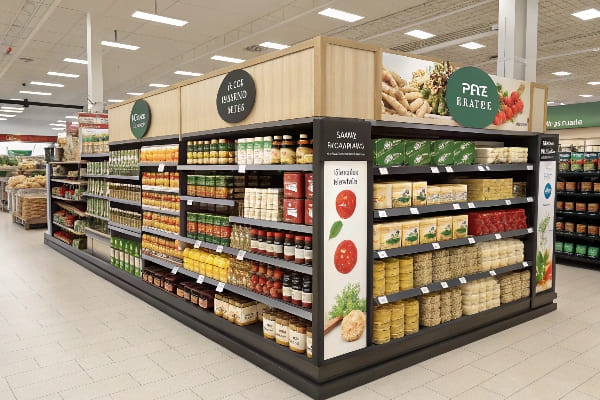
Aisles, promos, and what actually sells
I start with the perimeter: produce, bakery, dairy, meat. These draw traffic. I use simple secondary displays near these fresh zones for cross-sell, like sauces near meat. I keep center aisles logical: breakfast, snacks, beverages, household, pet. I hold leaders in eye-waist bands. I place private label13 close to brands to invite trade-down. I run promotions on endcaps and pallets. Cardboard pallet displays work well because they ship on the pallet, drop in place, and sell fast. They also reduce setup time for staff. Countertop PDQ trays near checkout drive impulse. I watch replenishment. If a display needs tools or many parts, staff skip it on busy days. So I design for fewer parts and clear folds. In regions with strict sustainability goals14, I switch to recycled board and water-based inks. That keeps retailer audits smooth. I test small first, then scale to many stores in one week.
Supermarket placement blueprint
| Zone | Primary Role | Secondary Placement | Display Choice |
|---|---|---|---|
| Perimeter15 | Traffic | Cross-sell tie-ins | Small floor trays |
| Center aisles | Routine fill | Brand blocks | Shelf trays |
| Endcaps16 | Awareness | Price story | Bold floor POP |
| Checkout | Impulse | Low risk add-ons | Countertop PDQ |
| Bulk/club | Speed | Seasonal drops | Pallet displays |
Conclusion
Good placement is simple. I follow shopper paths, apply clear rules, and use fast, sturdy displays. I test small, learn fast, and scale only what works.
Explore how cardboard displays can enhance your retail strategy with cost-effectiveness and quick setup. ↩
Learn about the importance of sustainability in retail and how it influences shopper trust and purchasing decisions. ↩
Explore effective strategies to boost core sales, ensuring your retail space maximizes profitability. ↩
Learn techniques to enhance impulse buying, which can significantly increase your sales and customer engagement. ↩
Understanding traffic builders can enhance your store's layout and increase customer flow, leading to higher sales. ↩
A well-designed one-page planogram can optimize product placement and improve sales efficiency, making it a valuable resource for retailers. ↩
Exploring this resource will provide insights on optimizing store layouts and enhancing customer flow. ↩
This link will help you understand the importance of testing in retail for better decision-making and increased sales. ↩
Understanding the value ladder can enhance your marketing strategy by effectively showcasing product value. ↩
Exploring fast setup techniques can streamline your display process, saving time and improving efficiency. ↩
Explore this link to learn effective safety measures that can help prevent incidents in retail settings. ↩
Discover how flat-pack POP can streamline your retail setup process, saving time and resources. ↩
Exploring this link will provide insights into how private label products can enhance your retail strategy and profitability. ↩
This resource will offer valuable strategies for retailers looking to meet sustainability goals while improving their operations. ↩
Understanding the Perimeter's role can enhance your store's layout and boost sales. ↩
Exploring Endcaps can reveal effective strategies for increasing product visibility and customer engagement. ↩


