
I stare at a dull screen every day and lose energy fast. If the panel fails to show true colors, my designs and my eyes suffer. We can fix that.
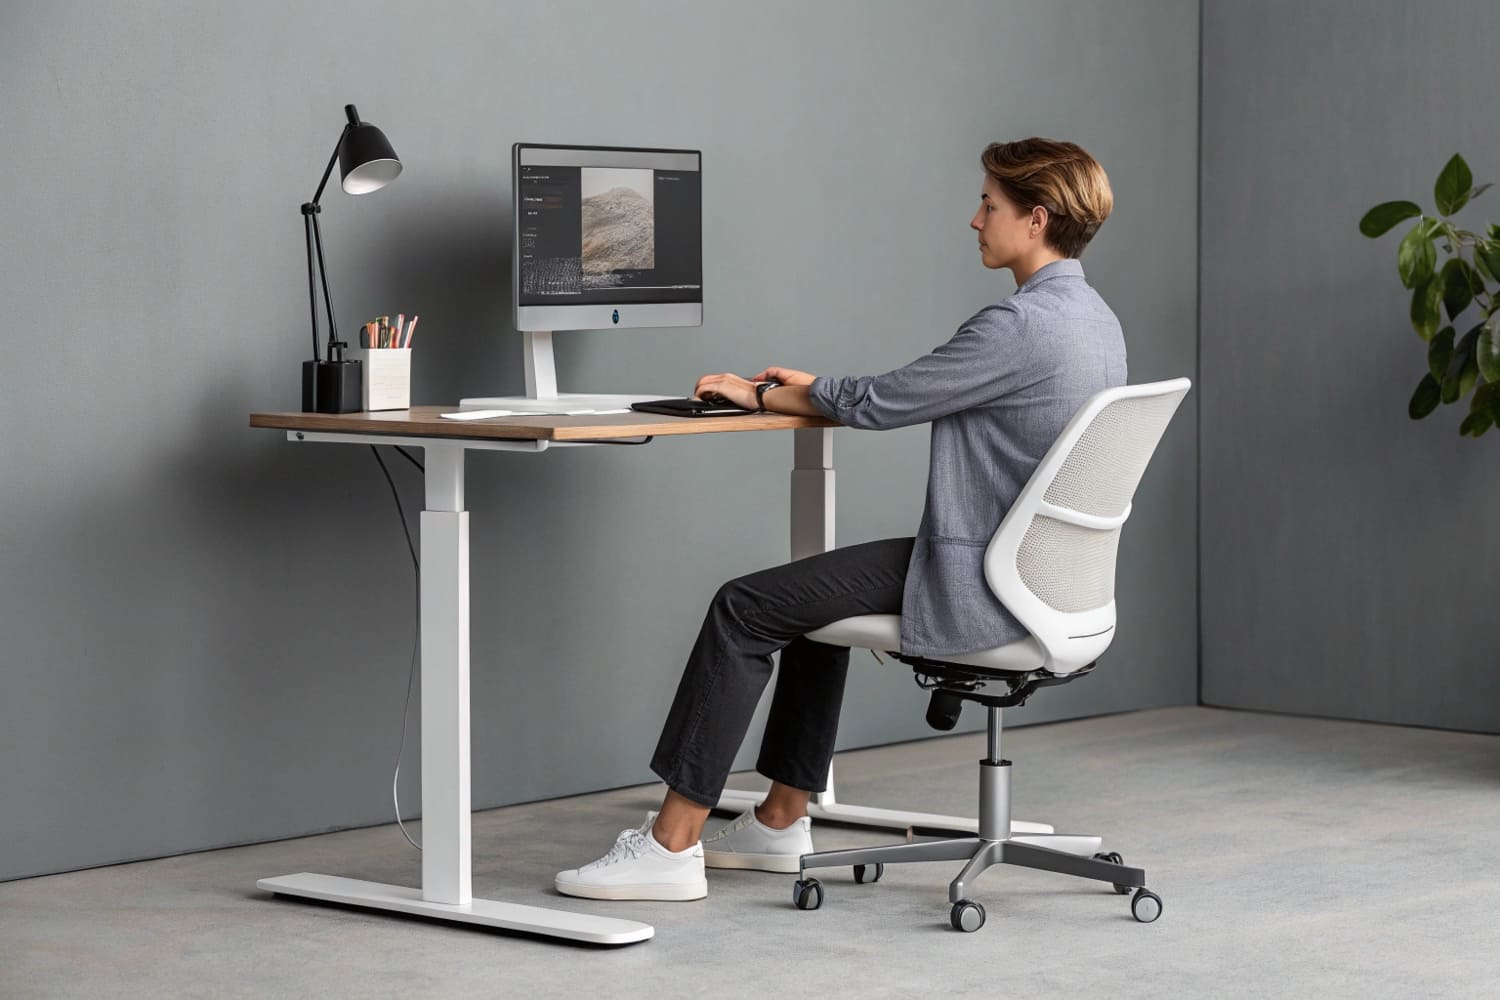
Set the monitor to its native resolution, run a quick color calibration, place brightness at 120 cd/m², adjust contrast until blacks stay deep, update the graphics driver, then sit at arm’s length and center the display at eye level.
I have tested dozens of panels for clients who buy my cardboard displays. Each lesson below keeps their visuals sharp and my workflow calm. Let’s walk through them one by one.
How can I improve my display?
My eyes tire at noon because default factory settings push blue light and glare. Many friends accept that pain, but I refuse. Small steps will lift clarity and comfort.
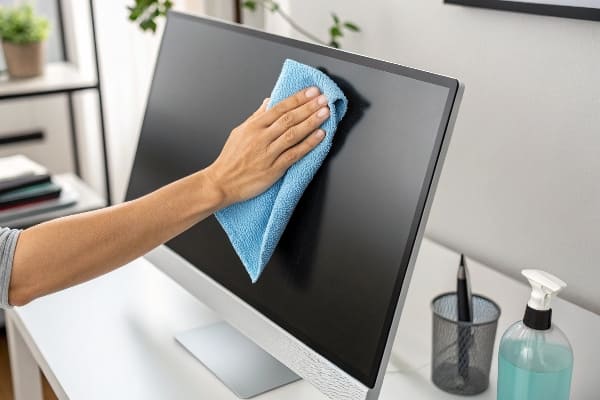
Switch to sRGB mode, lower blue light in the on-screen menu, set a neutral gray desktop background, pull curtains to cut reflections, use a matte privacy filter if needed, and clean the panel weekly with microfiber and distilled water.
Key Adjustments I Make Daily
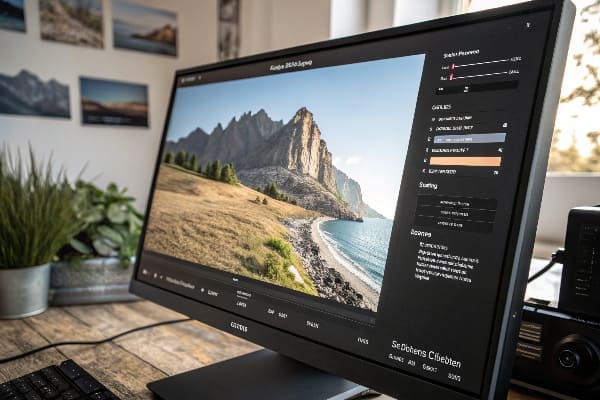
I start with the simplest tweak: native resolution1. Everything else builds on that solid base. Next, I open the on-screen display (OSD) and choose the sRGB preset2. The preset locks contrast and gamma at known targets, so printed mock-ups of my cardboard stands match what I see. Then I drop brightness until a blank Word page stops glowing like a lamp. I end by nudging the “Low Blue Light3” slider down two notches. This cut does not ruin color but keeps my eyes moist through long quoting sessions with overseas buyers.
| Setting | Action | Result |
|---|---|---|
| Resolution | Use panel’s native pixels | Razor-sharp text |
| Brightness | Around 120 cd/m² | Less eye strain |
| Color Mode | sRGB preset | Accurate proofs |
| Blue Light | −20 % | Better comfort at night |
| Position | Arm’s length, eye-level center | Neutral neck posture |
Why These Steps Matter
These moves look small, but they save real money. When the sample printout matches the digital proof, I ship one prototype instead of three. That alone pays for the calibration puck I bought last year. It also proves to demanding buyers like David from Barnett Outdoors that my team respects their brand colors as much as they do. A clear, comfortable screen keeps mistakes away and deadlines safe.
How to check display quality?
My projects rely on accurate shades. Guessing will not do. I need quick tests that reveal banding, dead pixels, and uniformity before I send work to clients.
Load a test pattern, inspect solid colors for spots, watch a moving gradient for banding, view a checkerboard for contrast, and note any tint at screen corners in a dark room.
Tools That Expose Problems Fast
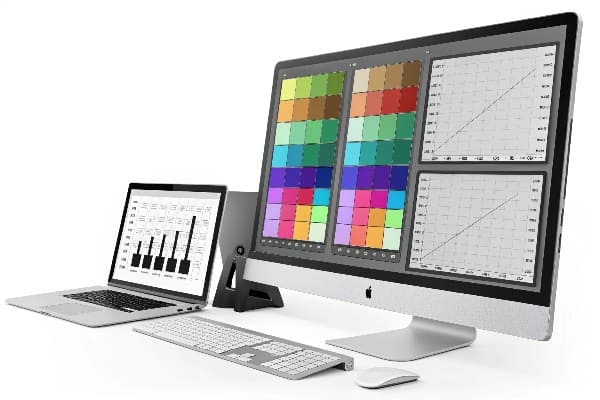
I download the free “Lagom LCD Test4” set and run it full screen. The gradient slide tells me if gamma is wrong; bands show up as ugly bars. Next, I show a pure red fill. Any stuck green or blue sub-pixel flashes like a tiny star, even from a meter away. I note its location because manufacturers often approve returns only when the pixel sits inside a center box. Then I dim the room lights and push a 5 % gray screen. Uniformity flaws appear as blotches. I record them with my phone so the factory sees what I see.
| Pattern | What I Look For | Typical Fix |
|---|---|---|
| Full-red, green, blue | Stuck or dead pixels | Warranty claim |
| 0-255 gradient | Banding or sudden tone jumps | Re-calibrate LUT |
| 5 % gray screen | Patchy brightness | Panel replacement if severe |
| Checkerboard 50 % | Contrast ratio perception | Adjust OSD contrast |
| Single-pixel grid | Sharpness and scaling issues | Native resolution only |
When to Escalate
If I see more than three dead pixels or if uniformity swings over 15 %, I escalate to the supplier immediately. That quick report avoids shipping an entire pallet of faulty promotional kiosks to a trade show. The cost of one rejected monitor is nothing next to freight for damaged credibility.
How to manage display settings?
I juggle design drafts all day. When settings hide behind layered menus, I waste minutes. Good management means I adjust profiles in seconds and get back to work.
Use the operating system’s quick settings, bind hotkeys for brightness and night mode, install the monitor vendor utility, group presets by task, and keep a text note of ideal values for fast restoration after driver updates.

Streamlining My Workflow
I pin “Display Settings” to the Windows 11 Start bar because one click beats three. For fine control, I install the vendor’s tool—Dell Display Manager5 in my case. It lets me assign application-based presets: Photoshop triggers “Color Critical,” PowerPoint calls “Presentation,” and late-night email launches “ComfortView.” Hotkeys finish the job. Ctrl + Alt + B nudges brightness6 by ten points. At noon, sunlight spills through my office window here in Guangzhou, so two taps lift brightness to keep contrast stable.
| Task | Preset Called | Key Values |
|---|---|---|
| Photo editing | Color Critical | sRGB, 6500 K, 120 cd/m² |
| CAD drafting | Detail Boost | Sharpness +40 |
| Sales slideshow | Presentation | 180 cd/m², Gamma 2.0 |
| Night reading | ComfortView | Blue Light −50 %, 80 cd/m² |
| General office | Standard | Default, 100 cd/m² |
Backup and Restore
Driver updates sometimes reset everything. I keep a simple text file in OneDrive7 with each key value. Restoring takes two minutes. That small habit saved me during a pitch when Windows rolled a surprise patch the night before. My buyer never noticed because my display still matched the printed flyers I had shipped earlier.
A simple question still slows many users. They dig through windows, panic, and call IT. I map the path once, then share it, so no one stalls again.
On Windows 11: right-click desktop → Display settings. On macOS: Apple menu → System Settings → Displays. Many monitors also have a joystick button that opens an on-screen display for hardware controls.
Step-by-Step for Each Platform
I serve clients on both systems, so I memorize both routes. Windows places most controls—resolution, scaling, orientation—inside a single page. Mac splits layout and color profile across two tabs. To reach panel-level adjustments such as overdrive or local dimming, I press the tiny joystick under the bezel. That hardware menu feels clunky, yet it holds the real power. My tip: push the stick inward for two seconds and the full OSD appears on 90 % of models I meet.
| Platform | Menu Path | Notes |
|---|---|---|
| Windows 118 | Right-click desktop → Display settings | Includes HDR toggle |
| macOS Sonoma9 | Apple menu → System Settings → Displays | Profiles under “Color” tab |
| Linux GNOME10 | Settings → Displays | May need vendor tool |
| Monitor OSD | Press joystick or Menu button | Hardware-level tweaks |
Teaching the Team
I send a short screen-capture video to every new intern. They follow the cursor, pause, and mimic. That clip stops endless “How do I fix scaling?” chats and frees me to design fresh point-of-purchase towers instead of repeating help-desk lines.
How to get the best display on a monitor?
I want my screen to melt away and leave only the work. That peak feels magic, but it is repeatable when I tune every link between card and pixels.
Pair a high-bit-depth panel with a calibrated colorimeter profile, drive it through DisplayPort, enable 10-bit output, run 144 Hz only if color accuracy holds, and keep ambient light at 5000 K.
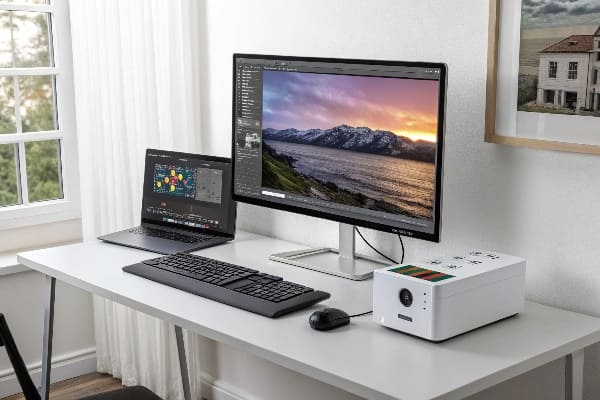
Building the Ultimate Chain
First, the panel. I pick an IPS unit rated for 98 % DCI-P311 because visitors now expect wide-gamut demos. I connect through DisplayPort 1.412, not HDMI, because DisplayPort lets my RTX card push 10-bit color at 144 Hz without subsampling. Then I run a hardware calibrator. The device writes a profile straight into the LUT of the monitor, bypassing GPU hacks that can clip dark tones. With the profile loaded, I dim room lights to 5000 K, close to daylight. That steady white point keeps prints and prototypes in sync.
| Link in Chain | Choice | Reason |
|---|---|---|
| Panel | 27″ IPS, 98 % DCI-P3 | Wide color, even brightness |
| Cable | DisplayPort 1.4 | Full bandwidth, DSC support |
| GPU Output | 10-bit RGB | Smooth gradients |
| Refresh Rate | 144 Hz (if 10-bit stable) | Fluid cursor without color trade-off |
| Calibration Tool | SpyderX Elite13 | Hardware LUT write-back |
| Ambient Light | 5000 K, 120 lux | Match print review booth |
Long-Term Payoff
The upfront cost looks high, but the math favors me. One color correction mishap on a 10,000-unit cardboard display run could wipe a year of savings. Precise on-screen proofing keeps my factory productive, avoids reprints, and satisfies export buyers who test with spectrophotometers. I sleep better knowing what I see is what I ship.
Conclusion
Tweak settings, test quality, organize controls, locate menus fast, and build a calibrated chain. Your screen will serve your work, not fight it.
Understanding native resolution is crucial for achieving optimal display quality and accuracy in color representation. ↩
Exploring the sRGB preset can enhance your knowledge of color management, ensuring your prints match digital designs perfectly. ↩
Learning about Low Blue Light technology can help you reduce eye strain and improve comfort during extended computer use. ↩
Explore the Lagom LCD Test to understand how it can help you identify and fix display problems effectively. ↩
Explore how Dell Display Manager can optimize your display settings for various tasks, improving your workflow efficiency. ↩
Learn effective methods to adjust brightness settings in Windows 11 for better visibility and comfort during work hours. ↩
Discover the advantages of OneDrive for backing up important files, ensuring quick restoration when needed. ↩
Explore this link to understand the full capabilities of display settings in Windows 11, including HDR options and more. ↩
This resource will guide you through adjusting display settings in macOS Sonoma, ensuring optimal performance and color accuracy. ↩
Discover how to effectively manage display settings in Linux GNOME, including potential vendor tools for enhanced functionality. ↩
Understanding 98 % DCI-P3 can enhance your knowledge of color accuracy in displays, crucial for professionals in design and media. ↩
Exploring the benefits of DisplayPort 1.4 can help you make informed decisions about your display connections for optimal performance. ↩
Learning about the SpyderX Elite can improve your understanding of monitor calibration, ensuring accurate color representation in your work. ↩